How to Set Up a Kasa Smart Plug via the Kasa App
This guide explains how to connect a TP-Link Kasa smart plug to your home Wi-Fi network using the Kasa app. Download the Kasa app before getting started. Once setup is complete, the smart plug can work with smart home ecosystems like Amazon Echo and Google Home. A setup video is available at the bottom of this page if you prefer a visual walkthrough.
Key Takeaways
- The Kasa app is required to connect a TP-Link Kasa smart plug to Wi-Fi. Download it from the App Store or Google Play before starting.
- The smart plug requires a 2.4 GHz Wi-Fi connection. It does not support 5 GHz networks.
- A TP-Link account is required to use the Kasa app. Create one during setup if needed.
- The connection steps for iOS and Android differ slightly in Step 4.
- After setup, the smart plug can integrate with Amazon Echo or Google Home for voice control.
Before You Begin
A few things to take care of before starting the Kasa smart plug setup:
- Download the Kasa app from the App Store or Google Play and install it on a smartphone.
- Connect the smartphone to the home Wi-Fi network (2.4 GHz only).
- Plug the Kasa smart plug into a power outlet.
Note: For iOS 14 and above, Local Network access must be enabled for the Kasa app before setup. Check your device's privacy settings to confirm this is turned on.
The steps below use the HS110 as an example. Refer to the in-app photos and the setup video at the bottom of this page for additional visual guidance.
Step 1: Open the Kasa App and Sign In
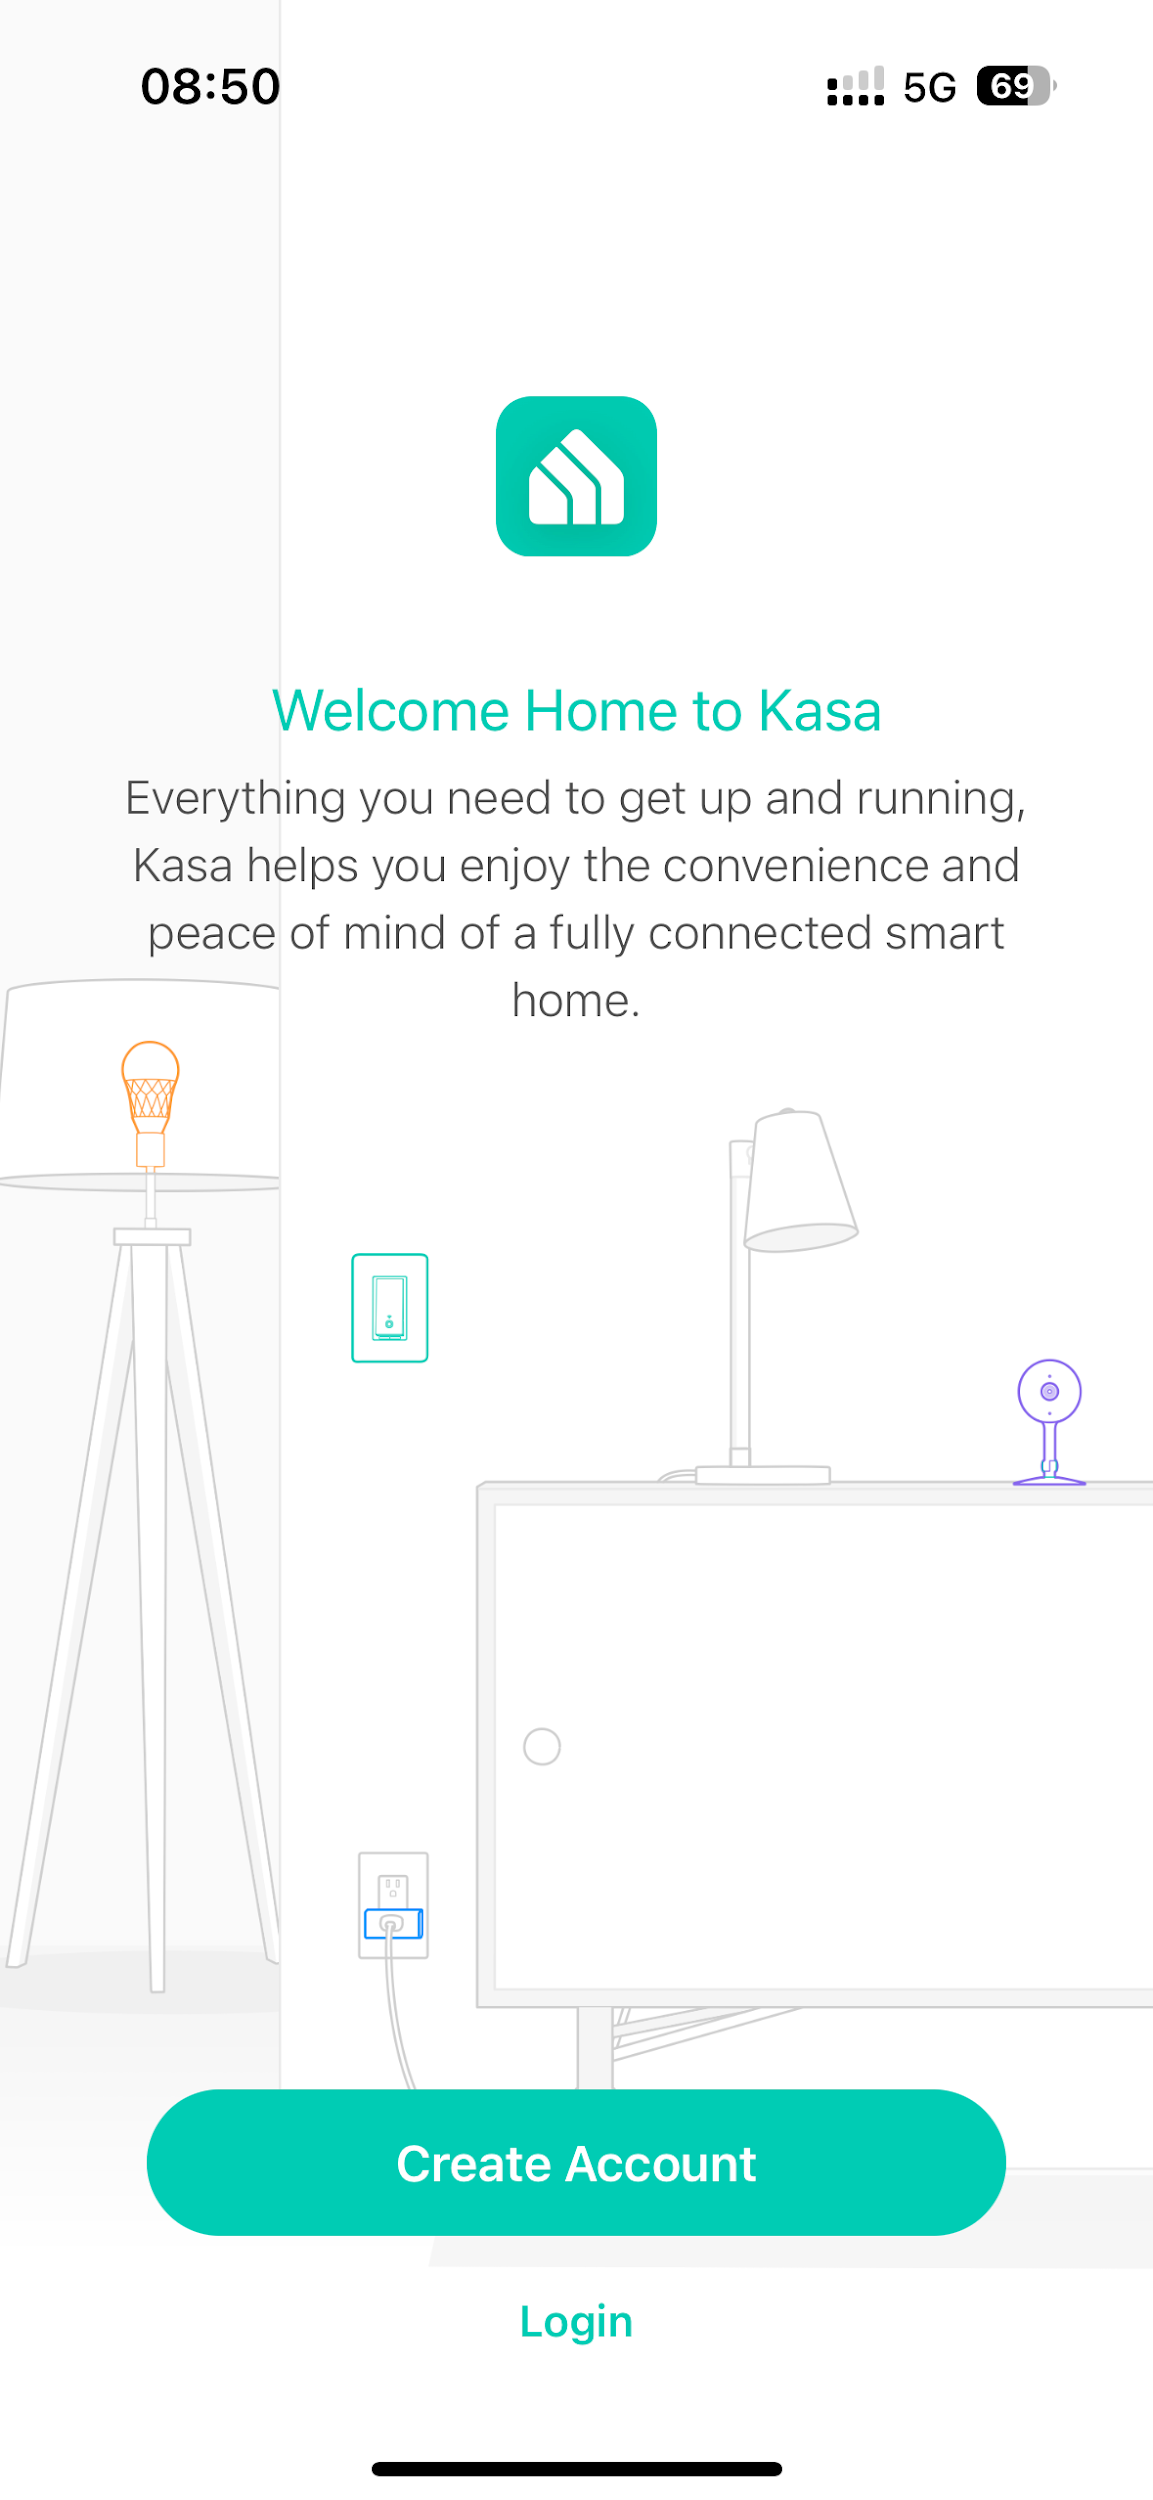
Open the Kasa app and sign in to a TP-Link account.
- If no account exists yet, tap Create Account and follow the prompts. See How to create a TP-Link Cloud Account on Kasa for guidance.
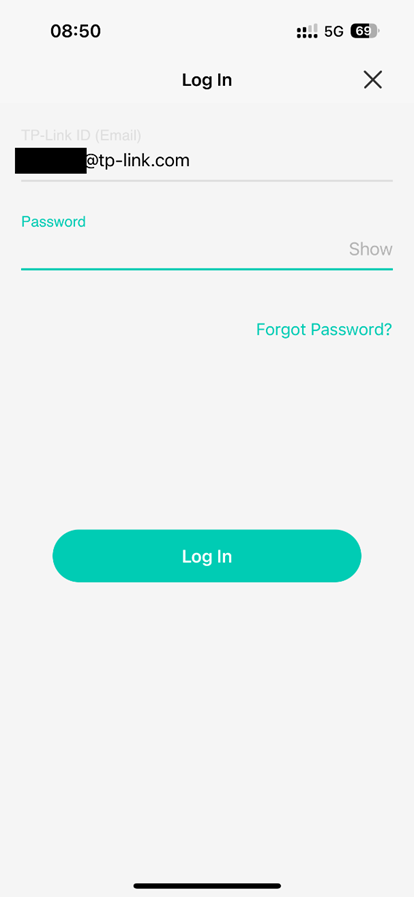
- If an account already exists, enter the email address and password on the login screen and tap Log In.
Step 2: Add the Smart Plug in the Kasa App
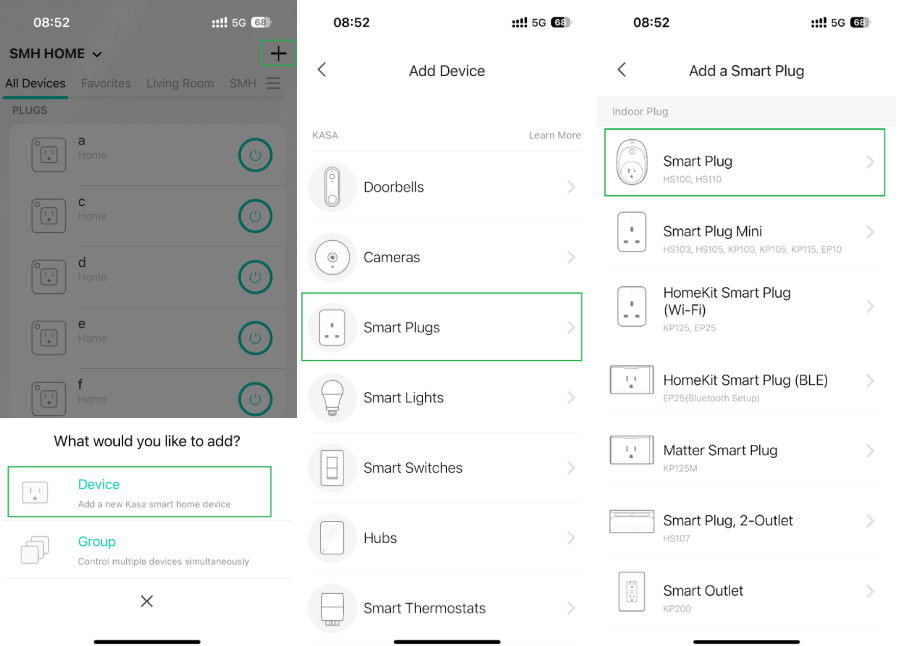
From the Kasa app home screen, tap +, then select Device. On the device type list, tap Smart Plugs and choose the icon that matches the model number of the plug being set up.
Step 3: Power On and Check the Wi-Fi Indicator Light
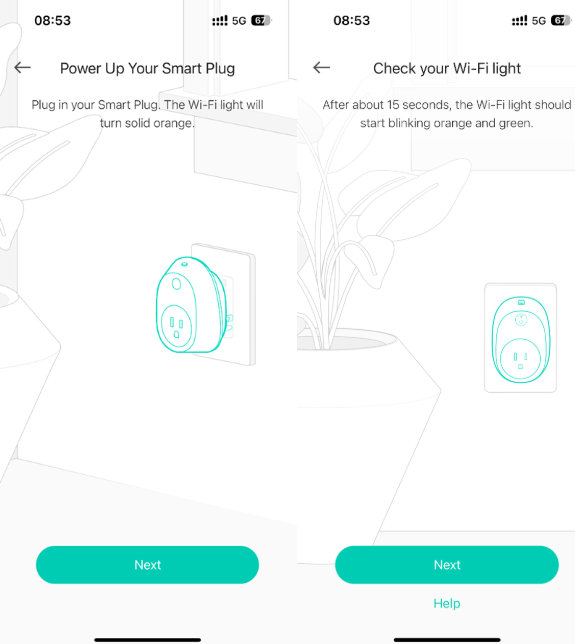
Follow the in-app instructions to power on the smart plug. Wait for the Wi-Fi indicator light to blink orange and green. This means the plug is in setup mode and ready to connect.
If the light does not blink orange and green, reset the plug as described in the User Guide or Quick Installation Guide. For help with the reset process, see How to Reset a Kasa Smart Plug or Smart Switch.
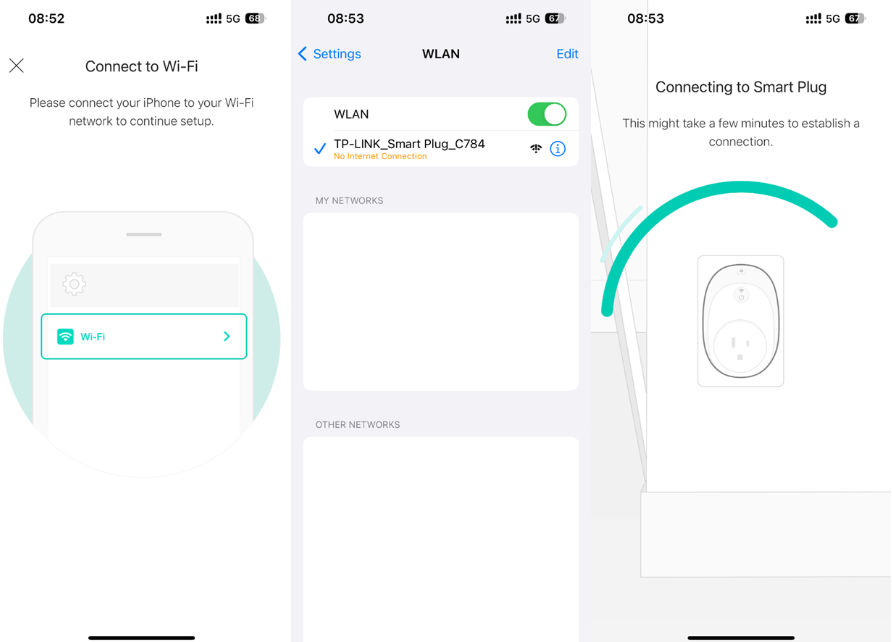
Step 4: Connect the Phone to the Smart Plug's Wi-Fi Network
This step works differently depending on the phone's operating system.
For Android
The Kasa app searches for the Kasa smart plug automatically. This takes about one minute. If the search does not complete on its own, go to Settings, then Wi-Fi on the phone, and connect manually to the smart plug's Wi-Fi network, the same way as on iOS.
Note: If the phone shows a message saying the network is unsecured, select the option to stay connected or connect anyway and return to the Kasa app to continue.
For iOS
Go to Settings, then Wi-Fi on the phone. Select the smart plug's Wi-Fi network, which appears as TP-LINK_Smart Plug_XXXX. After connecting, return to the Kasa app to continue setup.
Note: After connecting to the smart plug's Wi-Fi, the phone may show a "No Internet Connection" warning. This is expected. Return to the Kasa app and continue with setup.
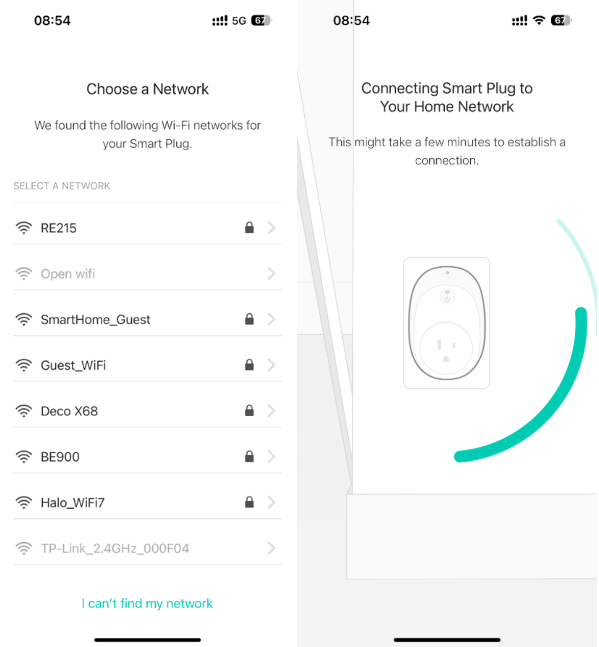
Step 5: Connect the Smart Plug to the Home Network
Select the home Wi-Fi network from the list in the Kasa app. If the network does not appear, tap Join Other Network at the bottom of the list and enter the network name (SSID) and password manually. Once this step is complete, the smart plug will be connected to the home network.
Step 6: Name the Smart Plug
Give the smart plug a name to identify it in the Kasa app. A descriptive name like "Living Room Lamp" makes it easier to manage multiple devices.

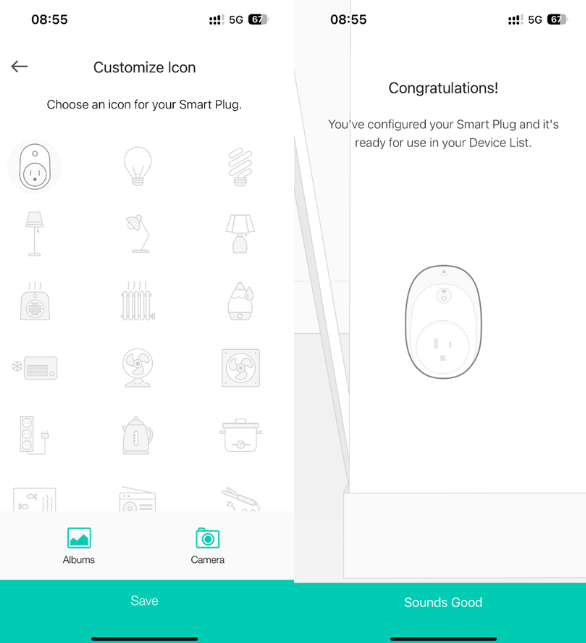
Step 7: Choose an Icon for the Smart Plug
Select an icon from the list in the app, choose an image from the phone's photo library (Albums), or take a new photo. Tap Save to confirm.
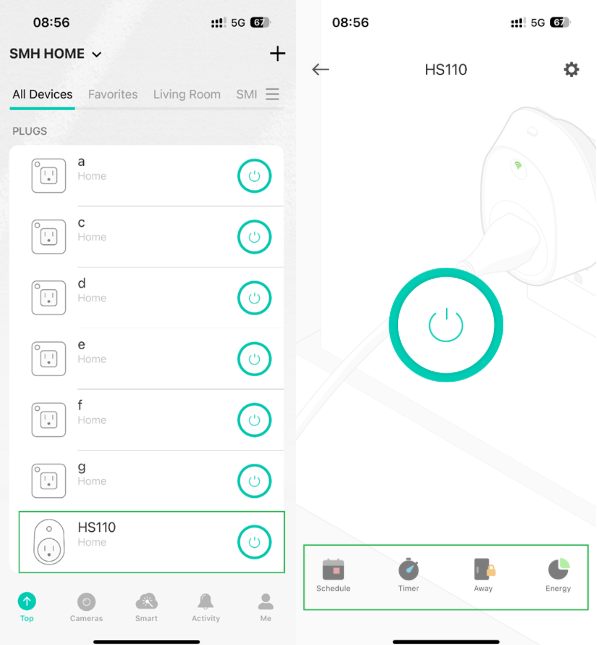
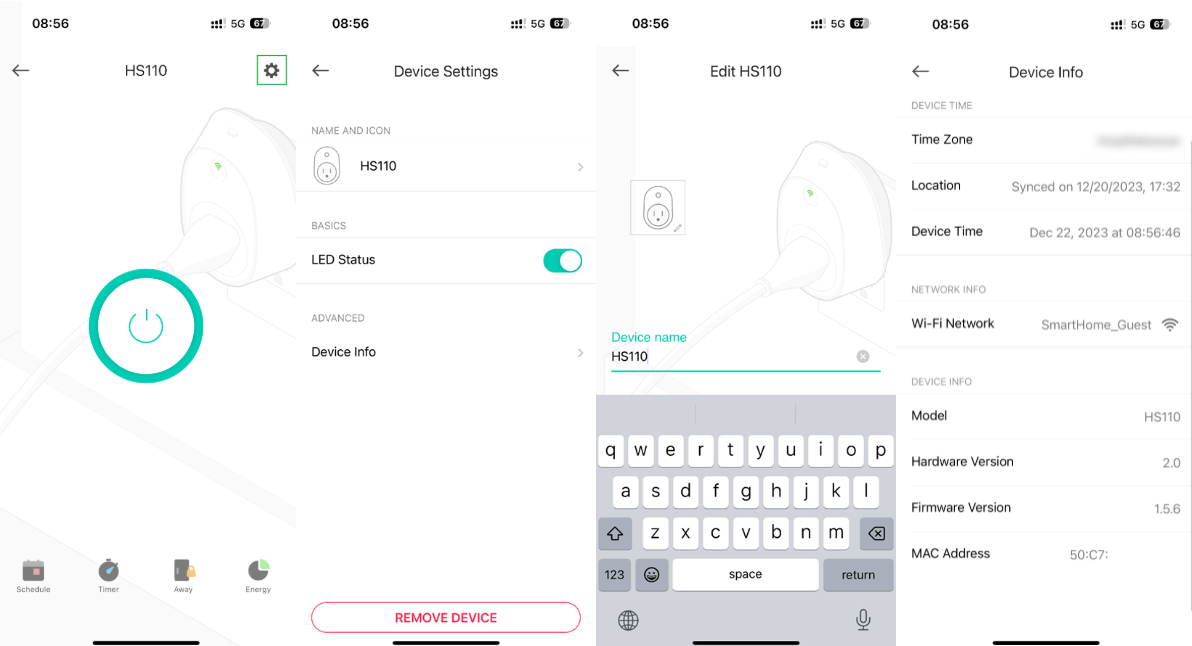
Step 8: Access Advanced Settings
After setup is complete, tap the smart plug icon on the Kasa app home screen to open its control page. Advanced settings, including Schedule, Timer, and Away mode, are available here.
Step 9: View and Edit Device Settings
Tap the settings icon on the device control page to open Device Settings. From here, tap Name and Icon to update the smart plug's name or icon, or tap Device Info to view information such as model number and firmware version.
Troubleshooting
If setup cannot be completed, press the reset button on the smart plug and try again as described in the User Guide or Quick Installation Guide.
For additional help, see What should I do if I fail to configure a Kasa device? If the smart plug keeps going offline after setup, see What should I do if my Kasa device keeps losing connection or going offline?
Setting Up With Smart Home Ecosystems
After connecting the Kasa smart plug to Wi-Fi, it can be linked to Amazon Echo or Google Home for voice control. For configuration instructions, see:
- How to make a Kasa device work with Amazon Alexa
- How do I move my Kasa device to a different wireless network?
To download the full product manual, visit the TP-Link Download Center and search for the model number.
¿Es útil esta pregunta frecuente?
Sus comentarios nos ayudan a mejorar este sitio.