How to replace the dust bag of Tapo Robot Vacuum
You may refer to either this video or the steps below:
Replace the dust bag when it is full.
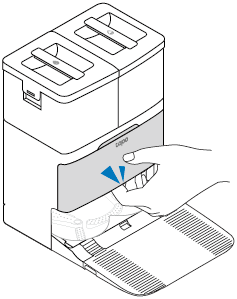
Step 1. Pull the base cover out from the opening at the bottom.
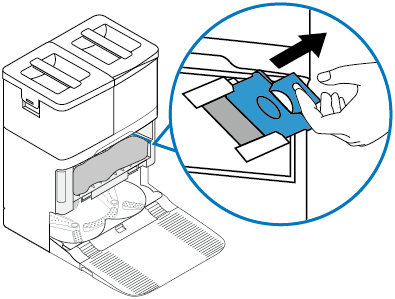
Step 2. Pull up the handle of the dust bag to remove it.
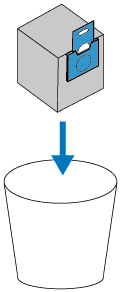
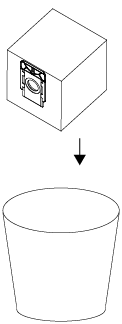
Step 3. Throw away the used dust bag when it is full.
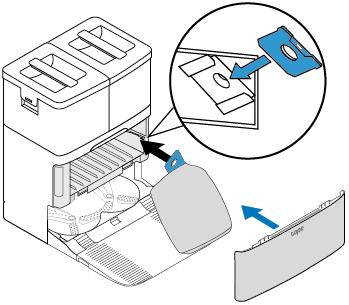
Step 4. Install a new dust bag and put the cover back on.
Replace the dust bag when it is full.
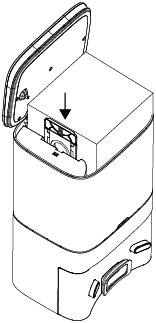
Step 1. Open the top cover and pull up the handle of the dust bag to remove.

Step 2. Throw away the used dust bag when it is full.

Step 3. Install a new dust bag and put the cover back on.
Note: Put the cover back on each time you open it, especially before emptying.

Replace the dust bag when it is full.
Step 1. Open the top cover and pull up the handle of the dust bag to remove it.

Step 2. Throw away the used dust bag.
Step 3. Install a new dust bag and replace the cover.
Is this faq useful?
Your feedback helps improve this site.


TP-Link Community
Still need help? Search for answers, ask questions, and get help from TP-Link experts and other users around the world.