How to Configure Camera Tampering & Scene Change Detection Function on Your VIGI Camera
Contents
Aiming Schedule (Only for Scene Change Detection)
Aiming Schedule (Only for Scene Change Detection)
Objective
This article provides configurations of tampering and scene change detection via web UI and App, as well as showing special configurations such as sensitivity, aiming schedule and other linkage methods.
Requirements
- VIGI Camera
- VIGI Web UI
- VIGI App
Introduction
Camera tampering triggers alarm actions when an area of camera’s lens is purposely blocked, obstructed or vandalized. Scene change detection refers to the task of localizing changes and identifying change-categories given two scenes.
Configuration
Web UI
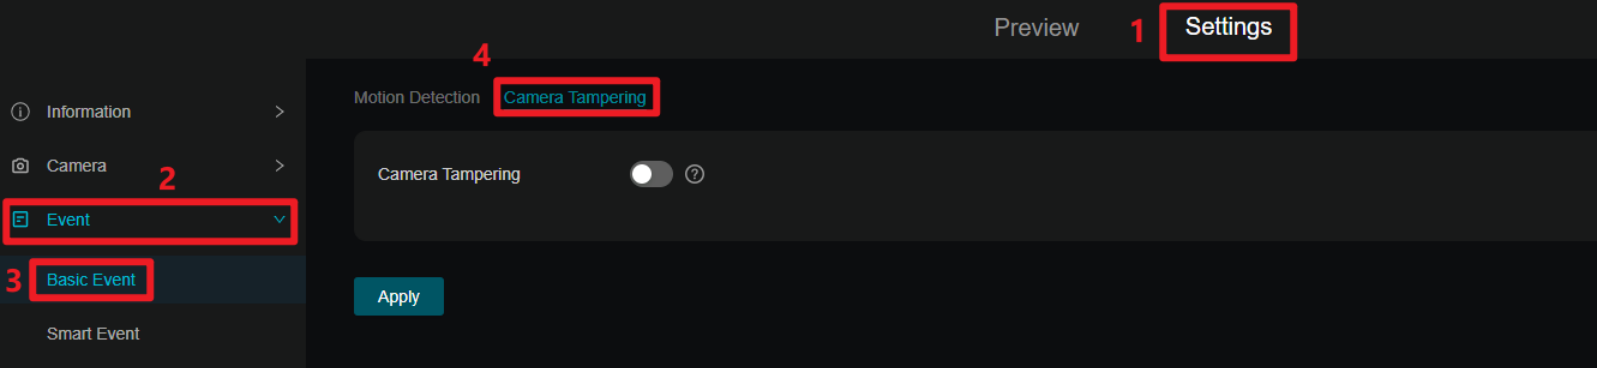
Step 1. Log in to the IPC’s management web interface, and go to Settings > Event > Basic Event > Camera Tampering. Then enable the button.
Step 2. Go to Settings > Event > Smart Event > Scene Change Detection and enable the button.

If the button will be green  , which represents the function is enabled.
If the button will be grey  , which represents motion detection is disabled.
Sensitivity
You can modify the value by entering a number or dragging the scroll wheel.

|
Sensitivity Setting |
Description |
|
Low Sensitivity (e.g., 20) |
A significant change in the preview image is required to trigger an alarm. |
|
Medium Sensitivity (e.g., 50) |
VIGI camera defaults to a sensitivity of 50, suitable for the vast majority of usage scenarios. |
|
High Sensitivity (e.g., 80) |
Only a slight change in the preview image is needed to trigger an alarm. |
Aiming Schedule (Only for Scene Change Detection)
Left click to slide and draw a time period. Click the period again to enter the start and end time. Then Click Save to modify the length of the time period.
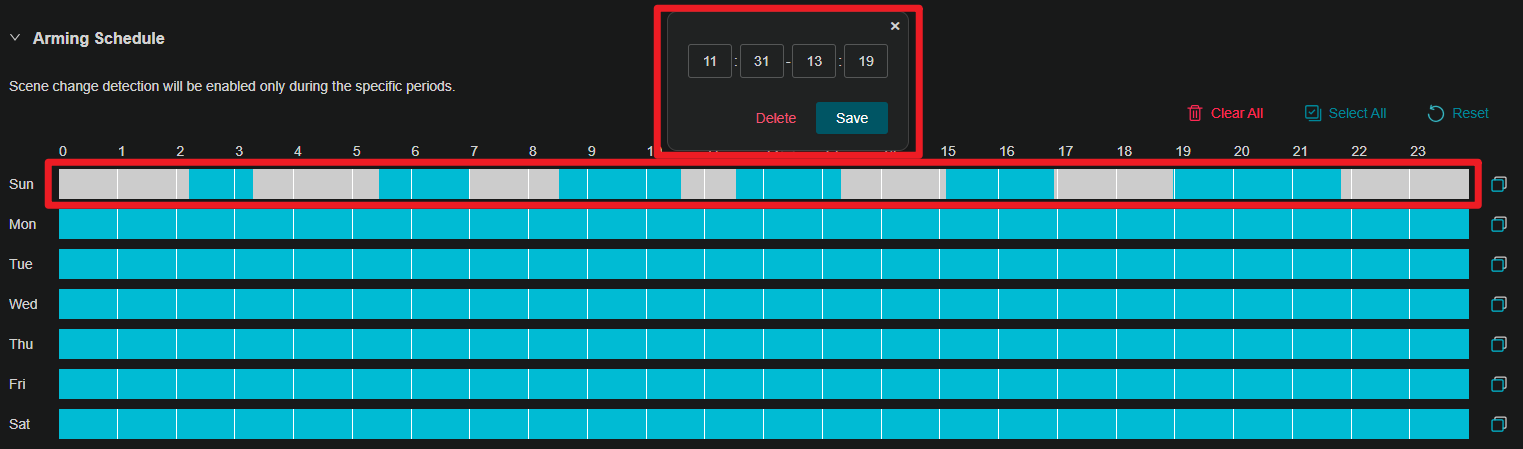
Note: Only six time periods can be plotted in a day.
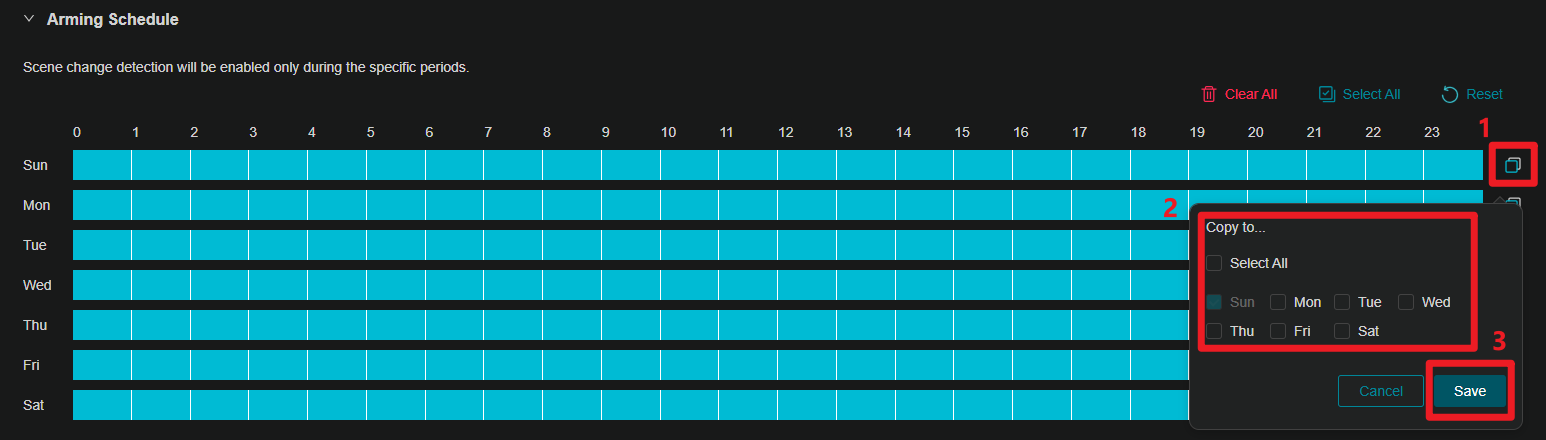
After setting up a single day, you can use the schedule copy function to copy the arming times to other days.
Click the Copy button at the end of the timeline and select the date you want to copy to. Then click the Save button to complete the setup.
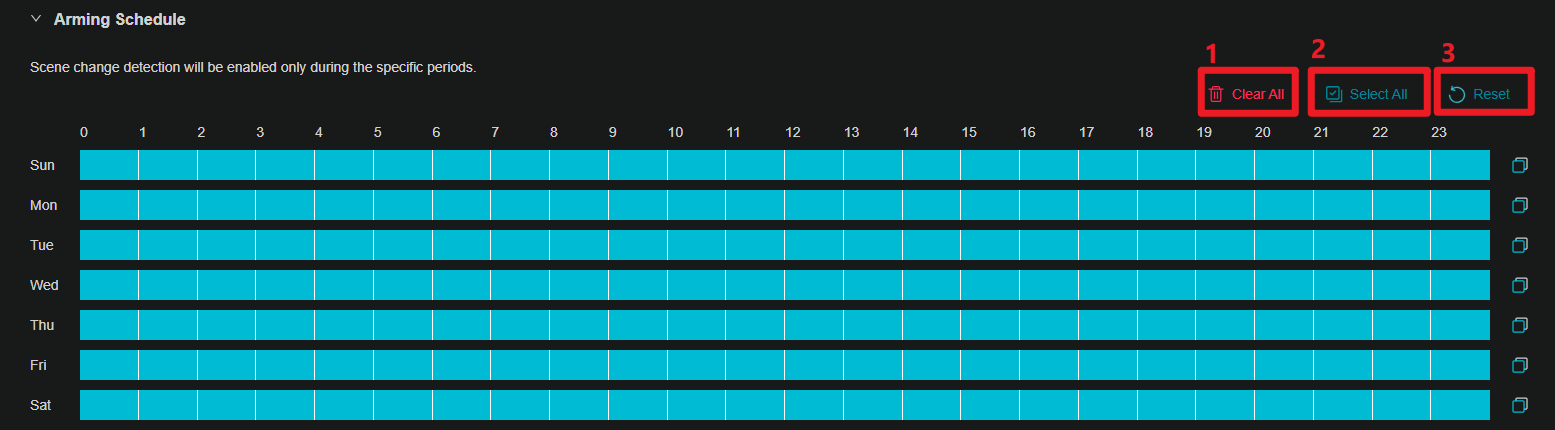
The timeline is fully selected by default. You can clear the timeline by Clear All, select the entire timeline with Select All, or return the timeline to its default state with Reset.
Linkage Method
Camera Tampering and Scene Change Detection also can be used in linkage with other features.
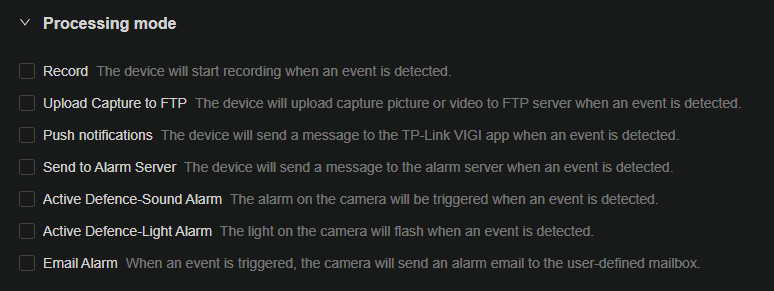
NOTE: If you need to set the linkage method, the functions of process mode should be enabled.
|
Linkage methods |
Description |
|
Record |
Details can be found in Storage> Recording Schedule |
|
Upload Capture to FTP |
Details can be found in Network Settings> FTP Settings |
|
Send to Alarm Server |
Details can be found in Event> Alarm Server |
|
Active Defence-Sound Alarm |
Details can be found in Event> Active Defence> Sound Alarm |
|
Active Defence-Light Alarm |
Details can be found in Event> Active Defence> Light Alarm |
|
Email Alarm |
Details can be found in Network Settings> Email |
VIGI App
Step 1. Add the camera to your VIGI App. You can refer to How to set up VIGI Cameras | TP-Link
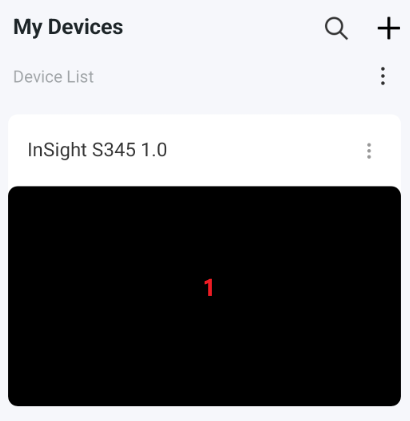
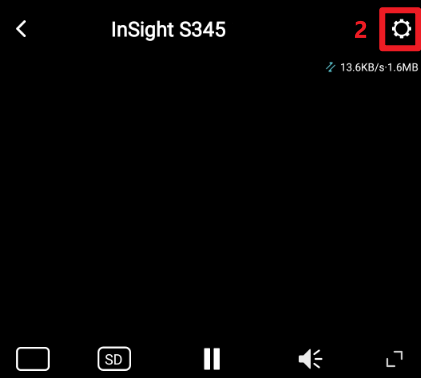
Step 2. Tap on your camera and go to the Live View page. Then, tap on More Settings.
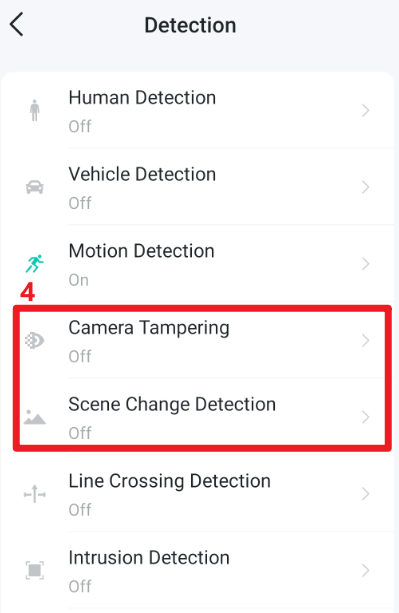
Step 3. Go to Detection.

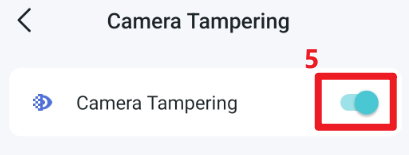
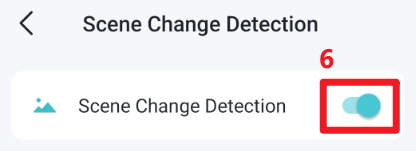
Step 4. Camera Tampering and Scene Change Detection are off by default, click to turn on the function.
Sensitivity
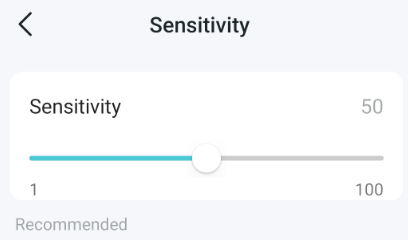
Tag on Sensitivity, you can modify the value by dragging the scroll wheel.
Aiming Schedule (Only for Scene Change Detection)
Tag on Scene Change Detection->Aiming Schedule->Edit, then you can slide to draw the time period.
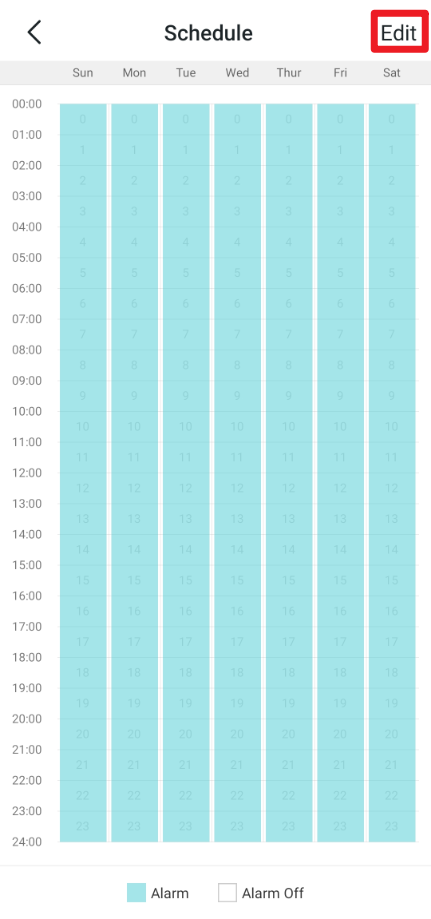
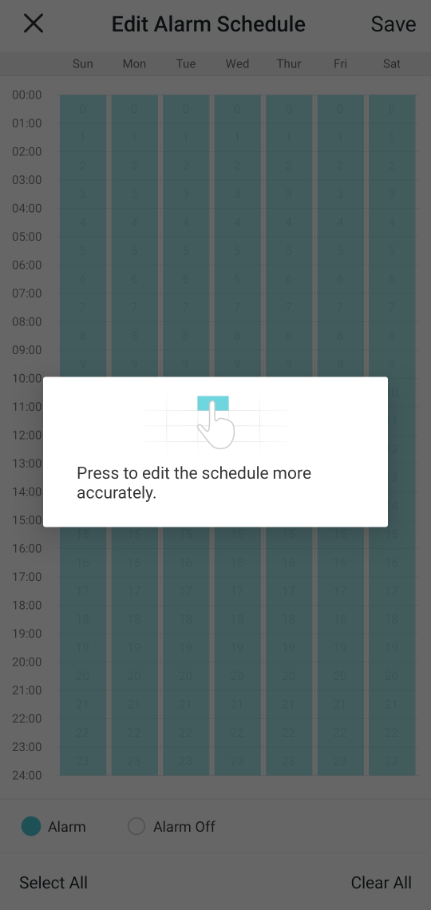
In addition, you can clear the timeline by Clear All, select the entire timeline with Select All.

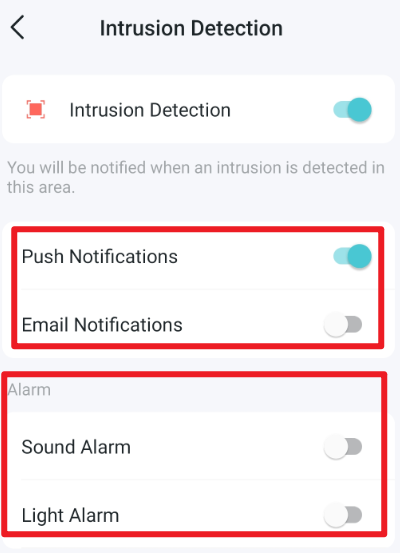
Linkage Method
VIGI App only support Push notifications, Email Notification, Sound Alarm and Light Alarm. You can click to turn on the function.
Conclusion
You can now better configure camera tampering and scene change detection on VIGI camera via Web UI and VIGI App.
Get to know more details of each function and configuration please go to Download Center to download the manual of your product.
Is this faq useful?
Your feedback helps improve this site.


TP-Link Community
Still need help? Search for answers, ask questions, and get help from TP-Link experts and other users around the world.