Choosing Security Cameras by Business Size and Layout
Published: September 30, 2026
Quick Answer
-
Choose security cameras by what each zone needs to show, not by floor area, because two shops of the same size can need very different camera plans.
-
Map your entrances, cash points, traffic paths, storage, and perimeter first, then give each zone a DORI detail level, from Detect for fence lines to Identify for entrances and cash points.
-
Match the camera type and lens to the space, then test the whole plan on your floor plan in the VIGI Cloud VMS design tool before anyone drills a hole.
The right camera plan fits your building, not a package deal. A 200-square-meter pharmacy with one door and one counter is simple. A 200-square-meter hardware store with three entrances, tall shelving, and a loading bay is not. This guide shows how to size a camera system around your actual layout, using detail levels, the right camera types, and a free planning tool that shows coverage before you buy.
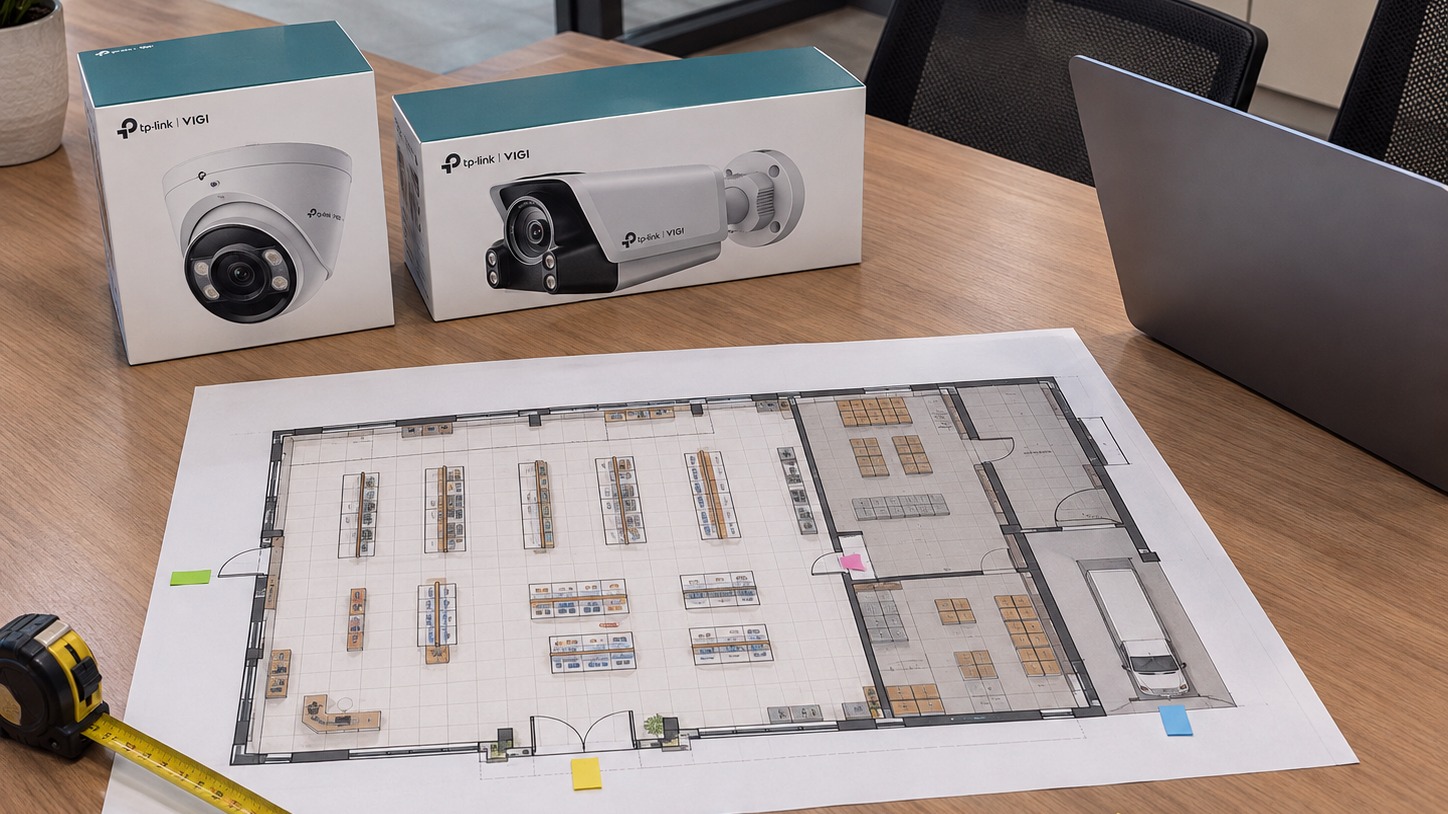
Table of Contents
How Does Business Size Shape a Camera System?
How Do You Map Your Layout Before Choosing Cameras?
Which Detail Level Does Each Zone Need?
Which Camera Type Fits Each Layout Feature?
How Do You Plan Coverage in the VIGI Design Tool?
Where Should Cameras Never Go?
How Do You Size the Recorder to Your Plan?
How Does Business Size Shape a Camera System?
Size shapes the system more than the camera count. The DTI and PSA classify businesses by headcount: micro enterprises have fewer than 10 employees, small enterprises 10 to 99, and medium enterprises 100 to 199, according to the DTI's MSME definitions.
|
Business Size |
Common Layout |
Typical System |
|
Micro (1 to 9 employees) |
One room plus storage, one or two doors |
2 to 4 cameras, small PoE NVR, VIGI App for the owner |
|
Small (10 to 99 employees) |
Several rooms or floors, back office, parking |
8 to 16 cameras, 8- or 16-channel NVR, separate user logins |
|
Medium (100 to 199 employees) |
Multiple buildings, warehouse areas, or branches |
16 or more cameras, several NVRs, VIGI Cloud VMS for central management |
These ranges are planning starting points.
Offices usually land in the small row, so apply the sizing guide to an office-specific camera setup. Sites in the medium row with docks, yards, and tall racking can apply the sizing guide to a warehouse with large open coverage areas.
The layout steps below decide where you land inside them.
How Do You Map Your Layout Before Choosing Cameras?
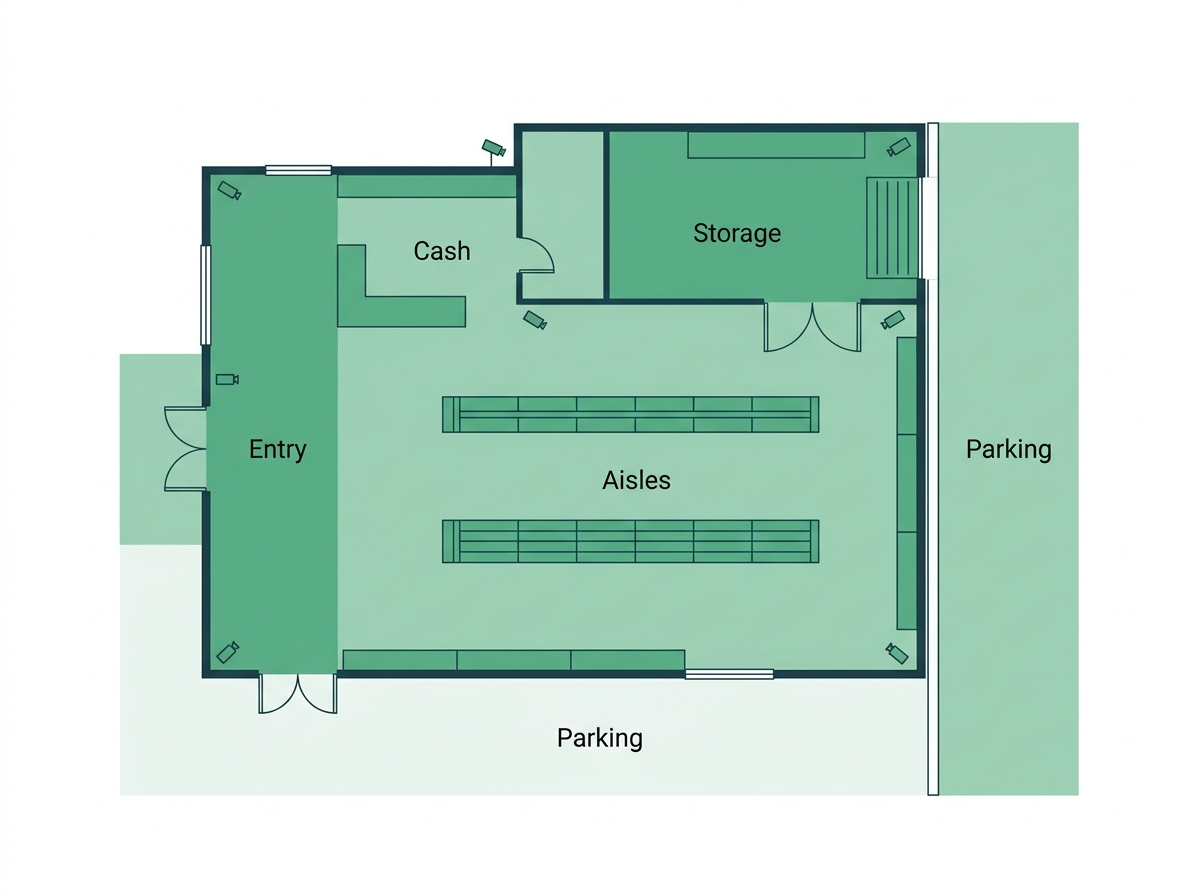
Grab a floor plan, or sketch one on paper with rough measurements, and mark every zone that matters.
- Entry and exit points. Every door, gate, and loading bay. These are your identification spots.
- Cash and high-theft points. Registers, dispensing counters, safes, and display cases.
- Traffic paths. Aisles, hallways, and stairs where people move between zones.
- Storage and back-of-house. Stockrooms, kitchens, and server or file rooms.
- Perimeter and parking. Fences, walls, driveways, and parking areas.
Next to each zone, write the question the camera has to answer. "Who came in?" needs a face. "Did anyone enter the stockroom after hours?" only needs a person. That question decides the next step.
Schools add gates and long hallways to this map, and our school guide shows how Philippine schools cover gates and hallways.
Which Detail Level Does Each Zone Need?
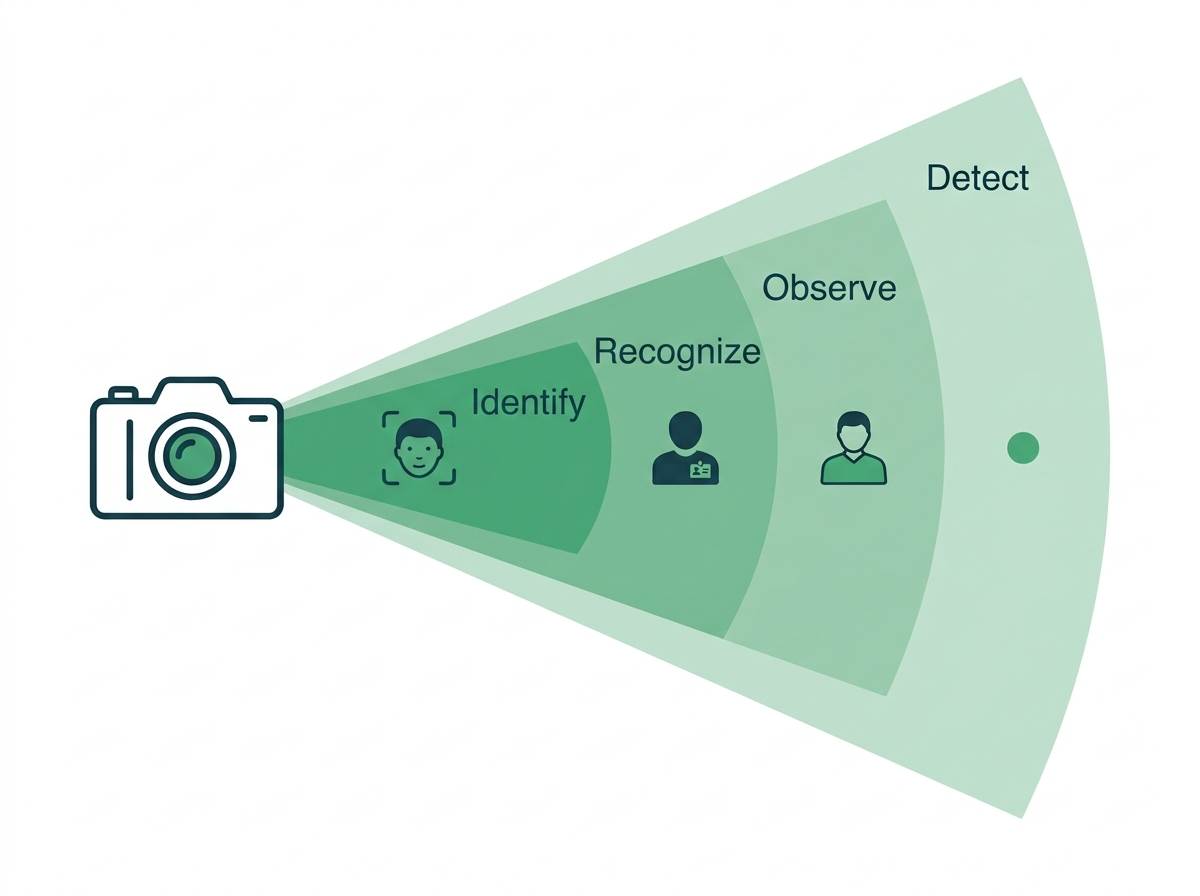
Identify at entrances and cash points, Recognize in hallways, Observe in aisles, and Detect on fences. Designers set these using the four DORI levels from the IEC 62676-4 standard, measured in pixels per meter at the target. The DORI section of our CCTV buyer's guide explains each level with its pixel figure.
|
Zone |
DORI Level to Plan For |
What the Footage Must Answer |
|
Entrances and cash points |
Identify |
Who is this person, beyond reasonable doubt? |
|
Hallways and interior doors |
Recognize |
Is this someone we know? |
|
Aisles and open floors |
Observe |
What are they doing, and what are they wearing? |
|
Fences, yards, and perimeters |
Detect |
Is someone there at all? |
One practical rule falls out of this. For identification, place the camera close to the target and use a narrower view. Published DORI distances show how steep the drop-off is: a camera that detects a person at 70 meters may identify one at only 7. A wide lens on a far wall rarely reaches a doorway.
Stores need "Identify" at every cash point, and our retail guide shows how stores cover shelves and cash points.
Which Camera Type Fits Each Layout Feature?
With zones and detail levels mapped, pick the hardware to fit the space.
|
Layout Feature |
Recommended Camera Type |
Why |
|
Open retail floor or dining area |
Wide-angle turret or dome, 2.8 mm lens |
Broad coverage from a ceiling or high wall |
|
Long corridor, aisle, or fence line |
Bullet with a longer lens |
Concentrates pixels down a narrow view |
|
Entrance with bright daylight behind |
Camera with strong WDR, like 120 dB |
Keeps faces visible against a glare-filled doorway |
|
Low ceiling within reach |
Vandal-resistant dome, IK10 |
Harder to knock or tamper with |
|
Large yard or parking lot |
Pan-tilt camera with automatic tracking |
Follows people and vehicles across a wide area |
|
Dark exterior with little lighting |
ColorPro or LightPro night vision |
Color evidence at night |
|
Remote gate or lot with no cabling |
4G camera with a solar power system |
No network or power lines needed |
Industry matters too, and our business surveillance guide shows how business size and layout fit into a complete surveillance strategy sector by sector.
How Do You Plan Coverage in the VIGI Design Tool?
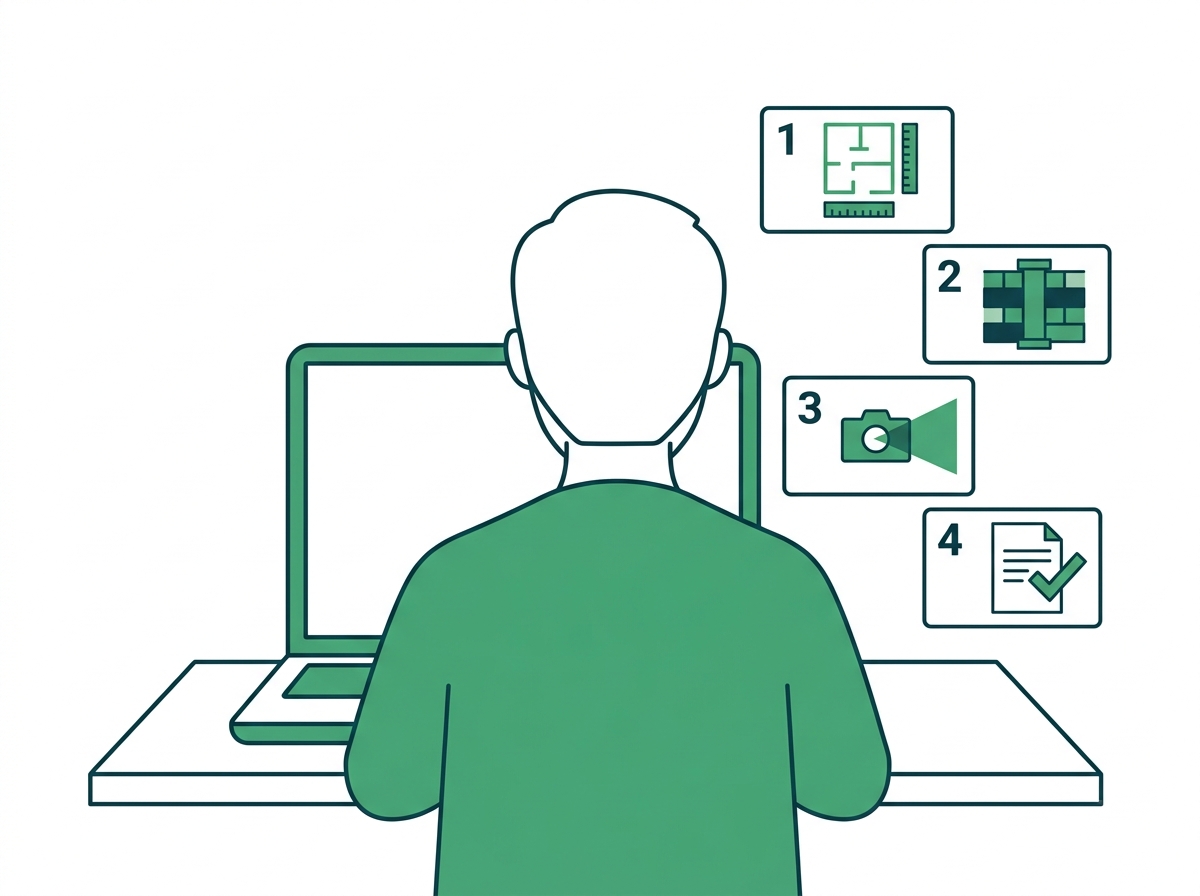
Build the plan on screen first. Guessing camera positions on-site is how blind spots happen. The VIGI Project Design Tool runs inside VIGI Cloud VMS, and the Essential version of Cloud VMS is free with a TP-Link ID.
- Open the tool. In VIGI Cloud VMS, go to Application, then Design Tool, then Add Project.
- Upload your floor plan and set the scale. A photo of a hand sketch works if you measure one wall accurately.
- Add rooms, walls, and pillars. These block camera views, so include tall shelving, columns, and the thick concrete walls common in Philippine shophouses, which also stop Wi-Fi cameras from reaching the router.
- Filter and place cameras. Filter VIGI cameras and NVRs by resolution, focal length, and installation needs, then drop them on the plan.
- Check coverage. Adjust mounting height, angle, and direction to see each camera's field of view and spot blind spots.
- Verify detail. Check pixel density across each view to confirm entrances actually reach Identify.
- Switch to 3D View. See what each camera will see from its mounting spot, including anything in the way.
- Generate the proposal. Export a device list, floor plans, and installation notes for your installer or approver.
The tool also handles several projects at once, which helps when you're planning more than one branch.
Where Should Cameras Never Go?
Never in restrooms, fitting rooms, or lactation rooms, and never aimed into a neighbor's private space. The National Privacy Commission's CCTV circular sets these limits, and our buyer's guide lists every placement limit the circular sets. The planning step is simple: shade those no-go areas on your floor plan before you place a single camera, and check that no pan-tilt camera can swing into them. Moving a camera after a complaint costs far more than marking the plan now.
Hotels face the tightest version of these limits, with guest rooms and corridors side by side, so see where cameras belong in a hotel without intruding on guests.
How Do You Size the Recorder to Your Plan?
Once the camera count is set, the recorder choice follows from three checks.
- Channels. Pick an NVR with more channels than cameras. An 8-camera plan on an 8-channel NVR leaves no room to grow, while a 16-channel unit does.
- PoE budget. Add up each camera's power draw from its spec sheet. Pan-tilt cameras and models with built-in lights draw more, and a ColorPro bullet like the C340S can draw up to 11.5 W over PoE.
- Incoming bandwidth. Add each camera's bitrate and compare the total with the NVR's rated input.
Drive size depends on retention and bitrate, so check how much storage your camera count will need before choosing between one-bay and two-bay recorders.
Frequently Asked Questions
How many security cameras does my business need?
Count zones, not square meters. Most micro businesses need 2 to 4 cameras, small businesses 8 to 16, and medium businesses 16 or more across several recorders. The number of doors, cash points, and high-theft areas moves that figure most. A single-door pharmacy sits at the low end of its range, while a hardware store with three entrances and a loading bay sits at the top.
How close should an entrance camera be to catch faces?
Closer than most people expect. On the VIGI C340S with its 4 mm lens, the published identification distance is 7 meters, while detection reaches 70 meters. So a camera meant to identify people at a shop door belongs within a few meters of it, angled to meet faces rather than the tops of heads. Check the DORI table on each spec sheet before you fix the mounting point.
Is the VIGI design tool free?
Yes, for the Essential version of VIGI Cloud VMS, which you access with a free TP-Link ID. The designer tool sits inside Cloud VMS, so the same account you use to plan the project can later manage the installed cameras. Paid tiers exist for advanced features, so confirm what your region includes before you commit a multi-site rollout to it.
Can I reuse one floor plan for a second branch?
Yes, if the branches share a layout. Franchise outlets and chain stores often do, so you can copy a project in the design tool and adjust only what differs, such as a side door or a longer stockroom. Keep each branch as its own project so the device list and proposal match the real building, then manage all of them from one Cloud VMS account.
Do tall shelves change where cameras go?
Yes, a lot. Shelving blocks the view from a ceiling corner, so a camera that covers an open floor won't see into aisles. Mount aisle cameras at the aisle ends looking down the length, and add shelves as walls when you draw the plan. Hardware stores, groceries, and pharmacies with floor-to-ceiling racks usually need one camera per main aisle.
Should a two-storey shop have cameras on both floors?
Yes, if both floors hold stock or cash. The stairs are a traffic path, so one camera at the stair landing covers movement between floors. The upper floor then needs its own cameras for any storage, office, or sales area. A shop with a residence upstairs should keep cameras on the business floor only, since private living space falls outside a business camera's purpose.
How do I plan cameras for a store I'm still renovating?
Plan now and cable before the walls close. Use the architect's floor plan in the design tool, mark camera points, and run Ethernet cable or empty conduit to each point during construction. Pulling cable through a finished ceiling costs far more than laying it during the build. Leave one or two spare cable runs for cameras you add later.
Final Thoughts
If your last system left a blind spot right where the stock went missing, the problem was the plan, not the cameras. Map your zones, give each one a detail level, match camera types to the space, and test the whole thing in the VIGI design tool before anyone climbs a ladder. You end up with fewer cameras wasted on empty walls and no gaps where it counts.
For planning surveillance by industry and across branches, read Surveillance Solutions for Philippine Businesses.
Tired of guessing where cameras should go? Open a free project in VIGI Cloud VMS and use its designer tool on your own floor plan. Browse VIGI cameras for every zone on your floor plan, or ask a VIGI reseller for a site survey and coverage proposal.