VIGI Series Camera Installation Guide
Contents
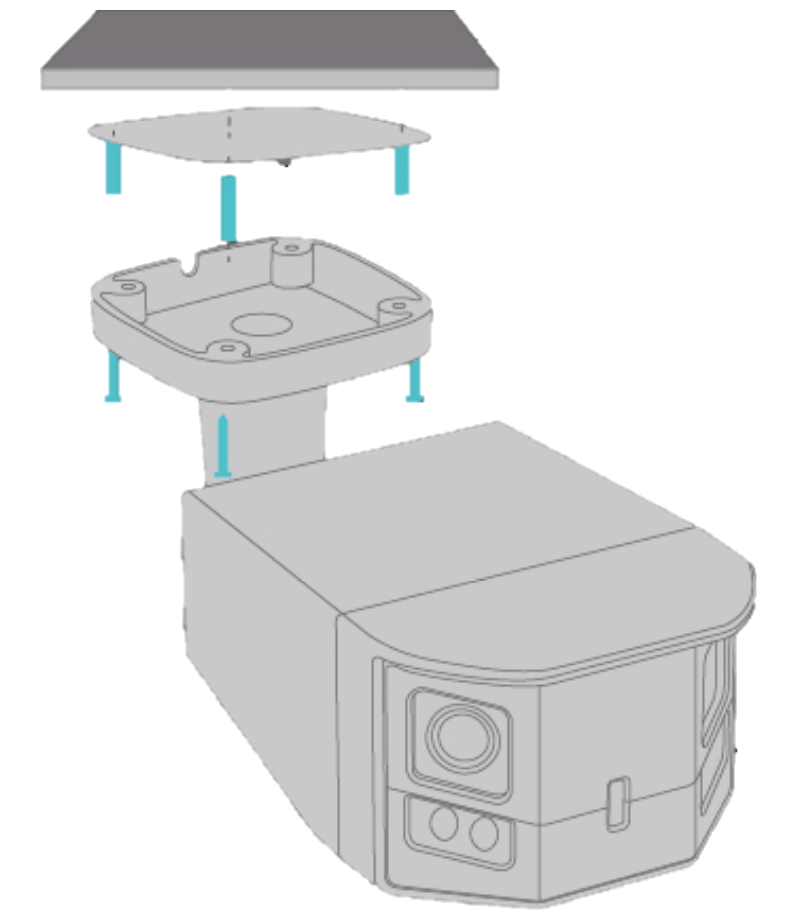
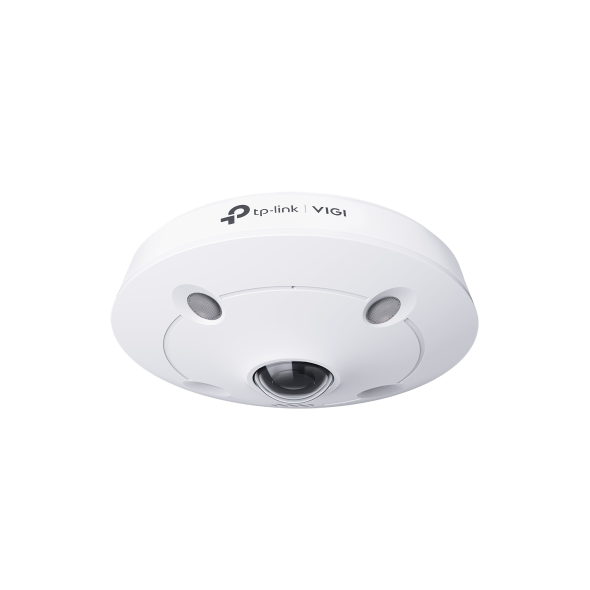
Installation guide for InSight S385DPS
Installation guide for InSight S385PI and InSight S485PI
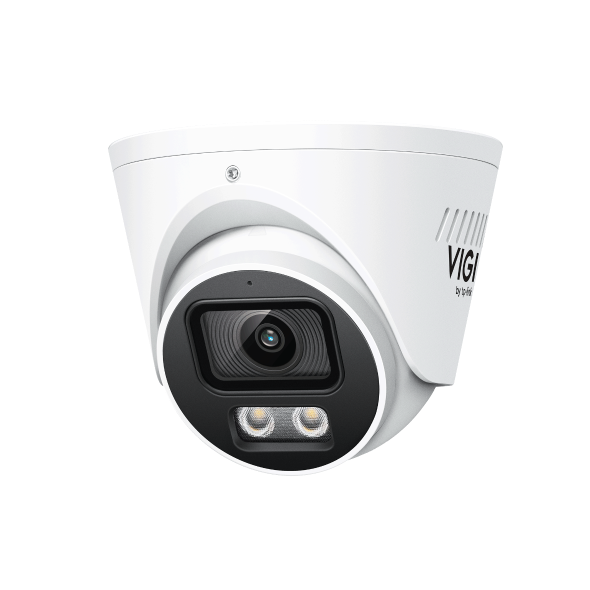
Installation guide for Dome Cameras
Introduction
This guide provides installation instructions for VIGI cameras, particularly for certain special models such as dome or wide-angle cameras, and also offers solutions to glare issues in specific scenarios.
Requirements
- VIGI Camera
- Mounting Accessories
Installation Guide
Before installing the VIGI camera, to reduce the impact of ambient light and the device’s auxiliary lights on the image, as well as minimize external interference with the device, please refer to the following points:
1. Avoid positioning the camera directly facing the sun or any strong light sources.
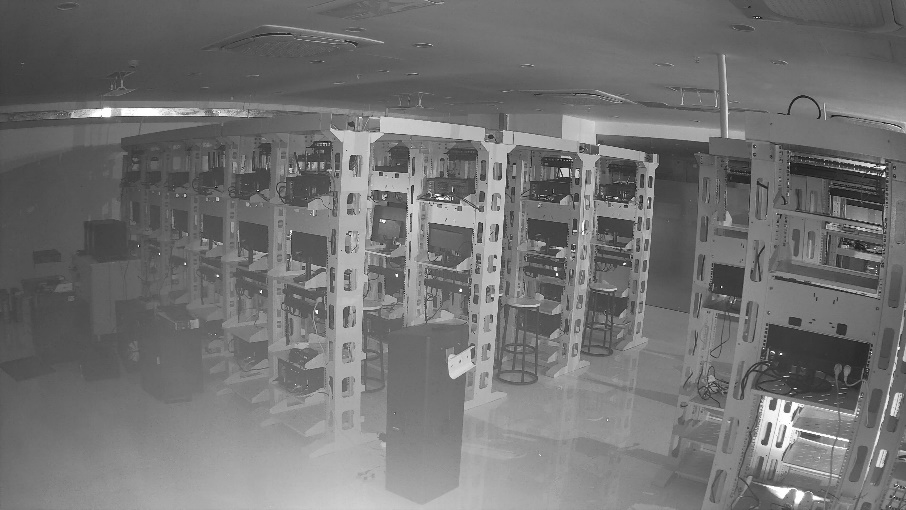
2. Prevent large reflective objects such as metal surfaces, glass, white walls, or water from appearing in the monitored scene, as reflections from intense light, ambient lighting, or indicator lights may degrade image quality.
3. Install the camera in an environment away from strong electromagnetic interference sources, such as high-voltage cables or high-power motors.
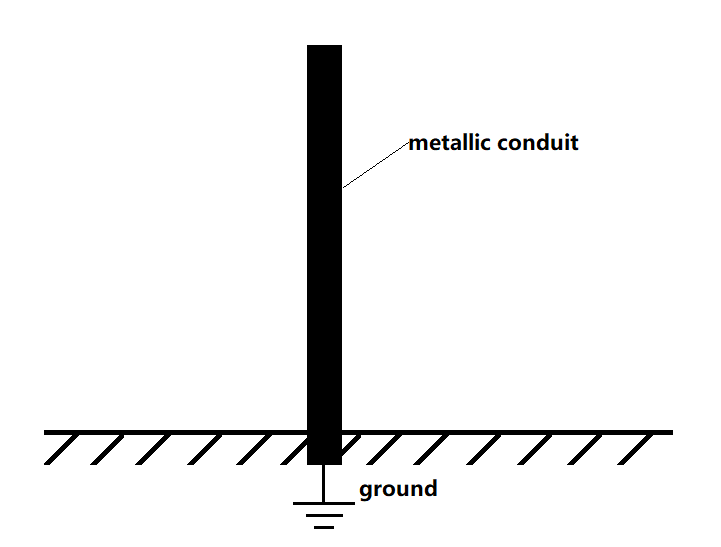
4. For outdoor cameras with metal casings, ensure effective grounding protection.
For models such as InSight S385DPS, InSight S385PI/485PI, and dome cameras, which involve dome covers or wide-angle lenses, it is recommended to carefully read the following installation instructions before proceeding. This will help prevent issues such as glare and other problems.
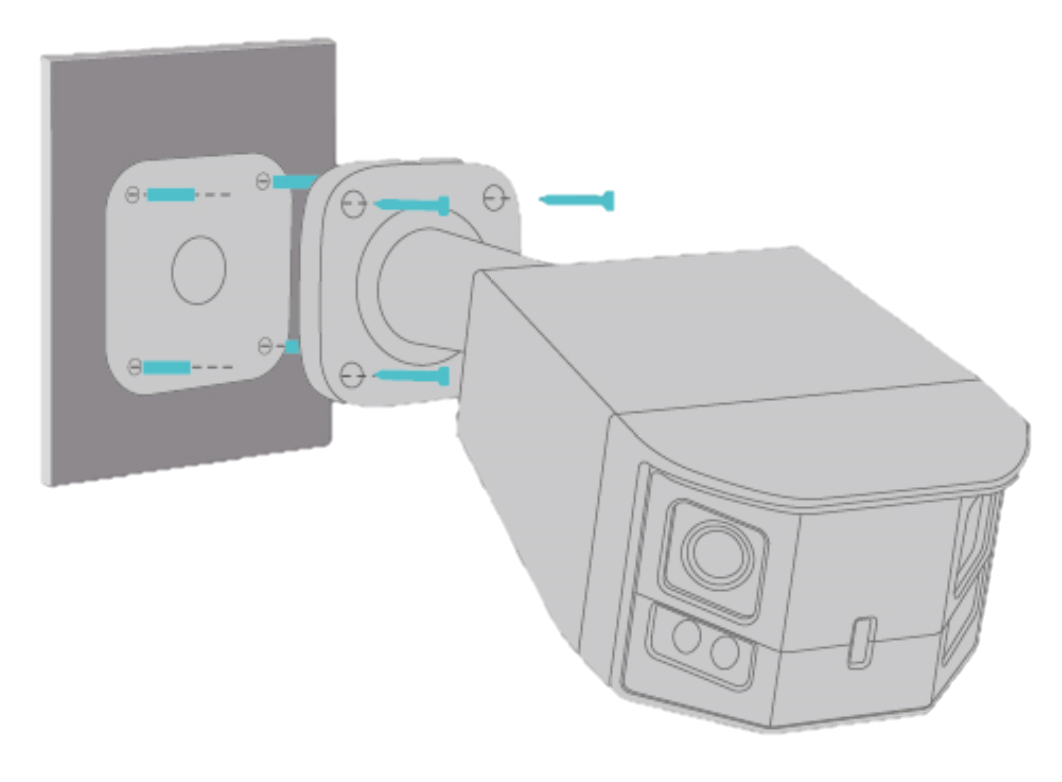
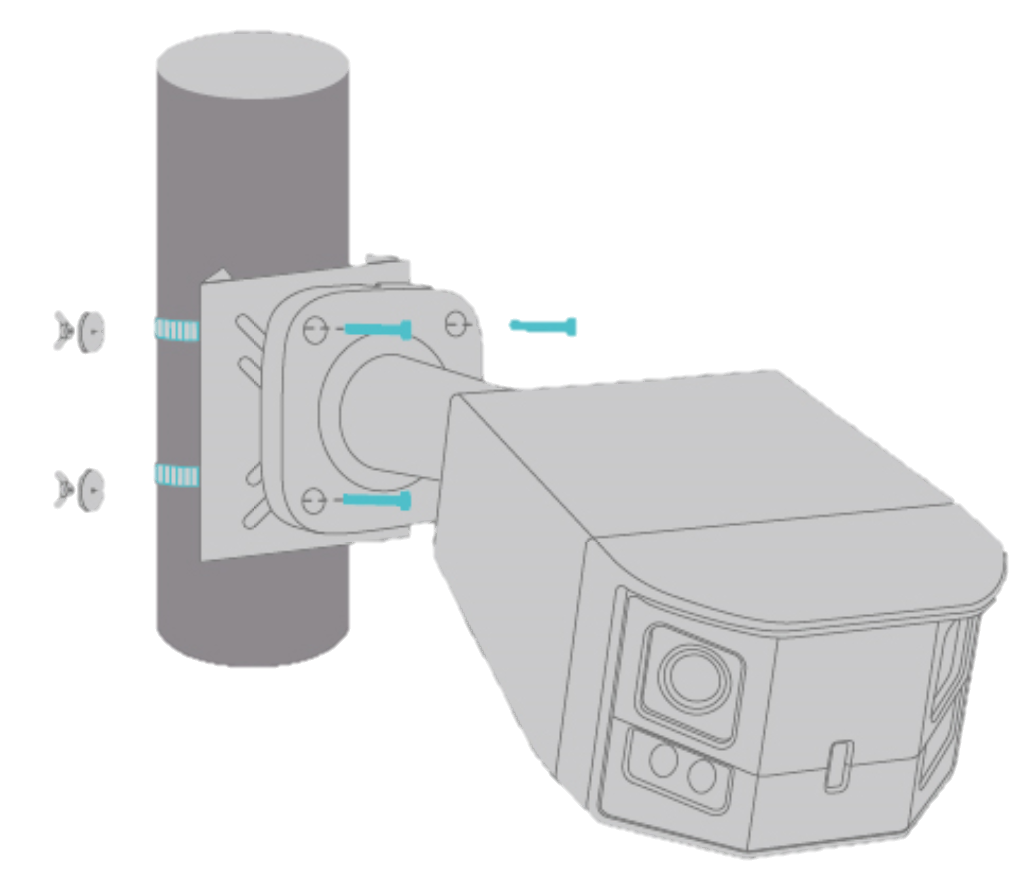
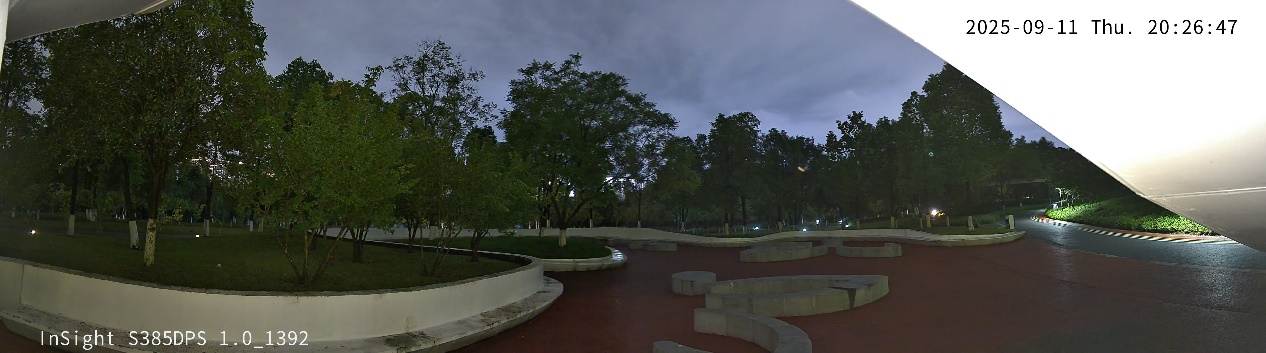
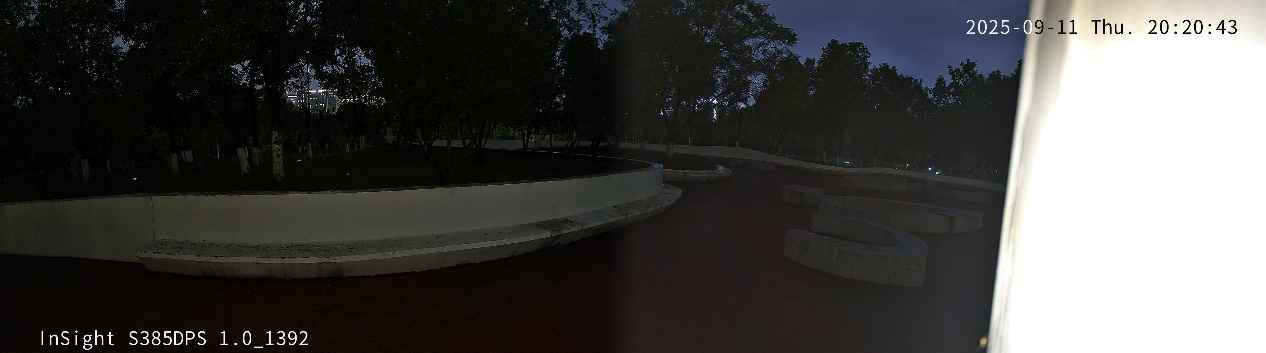
Installation guide for InSight S385DPS
1. Recommended Installation Method
InSight S385DPS provides a horizontal viewing angle of up to 180°. To ensure optimal monitoring performance, pay close attention to the following details and environmental requirements during installation:
- Before installation, make sure the mounting surface is clean, flat, and capable of supporting the camera’s weight. It is generally recommended to install the camera at a higher position or in an open area to maximize coverage and minimize obstructions. The surrounding area should be free of obstacles and reflective surfaces for optimal results. Once the camera is fixed in place, adjust its angle to optimize the coverage area and field of view, ensuring that no objects or reflective surfaces appear within the frame.
- Avoid positioning the camera where strong or excessive light sources appear in frame, as this may cause glare.
2. Installation Recommendations for Special Scenarios
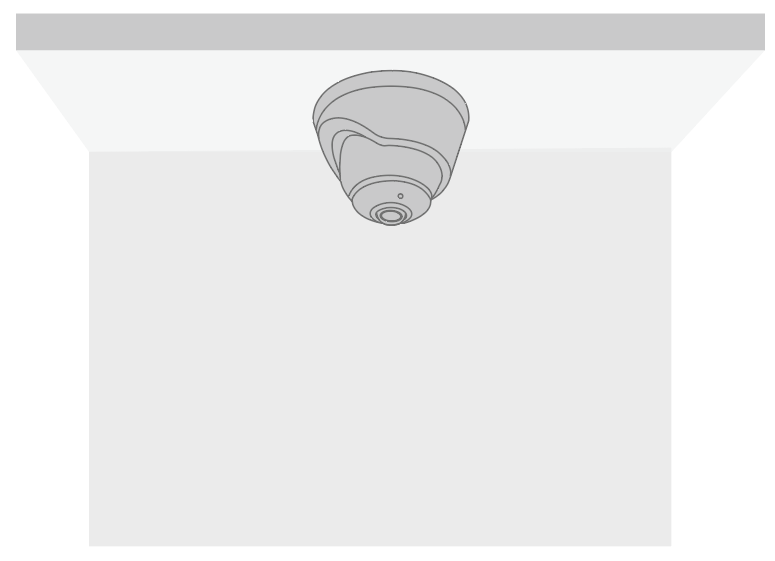
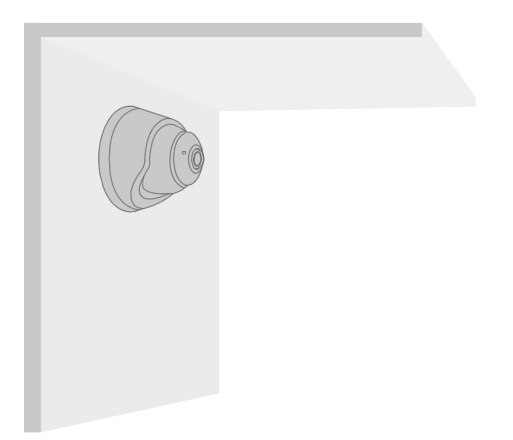
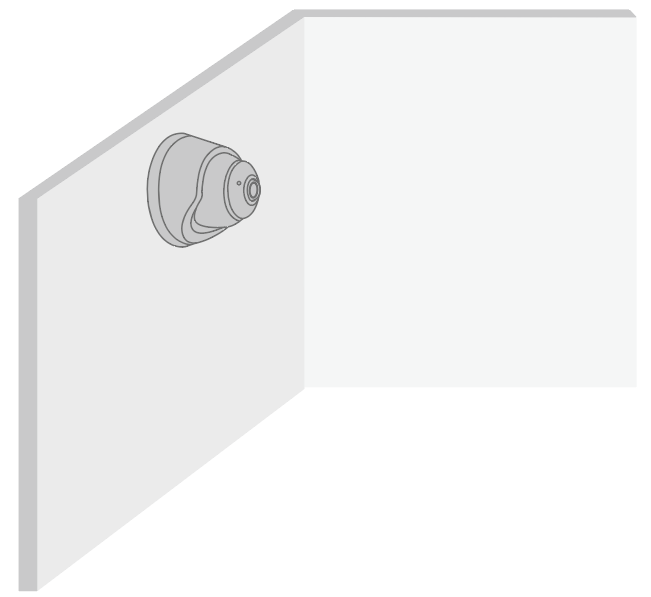
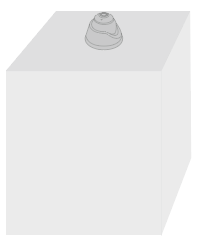
It is recommended to mount the camera on a ceiling, a wall, or a pole.
Scenario 1:
Scenario 2:
Scenario 3:
In Scenario 1, when installing the camera on a ceiling under an eave, it is recommended to place it toward the outer edge of the eave. Adjust the tilt angle to avoid capturing the roof or the wall below, which may cause reflections.
In Scenario 2, when installing the camera on a wall under an eave, avoid placing the bracket too close to the eave. Install the camera slightly away from the eave and adjust the tilt angle to prevent the roof or the wall below from appearing in frame and causing glare. When installing the camera in an area with a wall on either side, mount the camera centrally and away from the wall. As a wide-angle model, avoid corner installs; reflected light can enter the lens and cause glare.
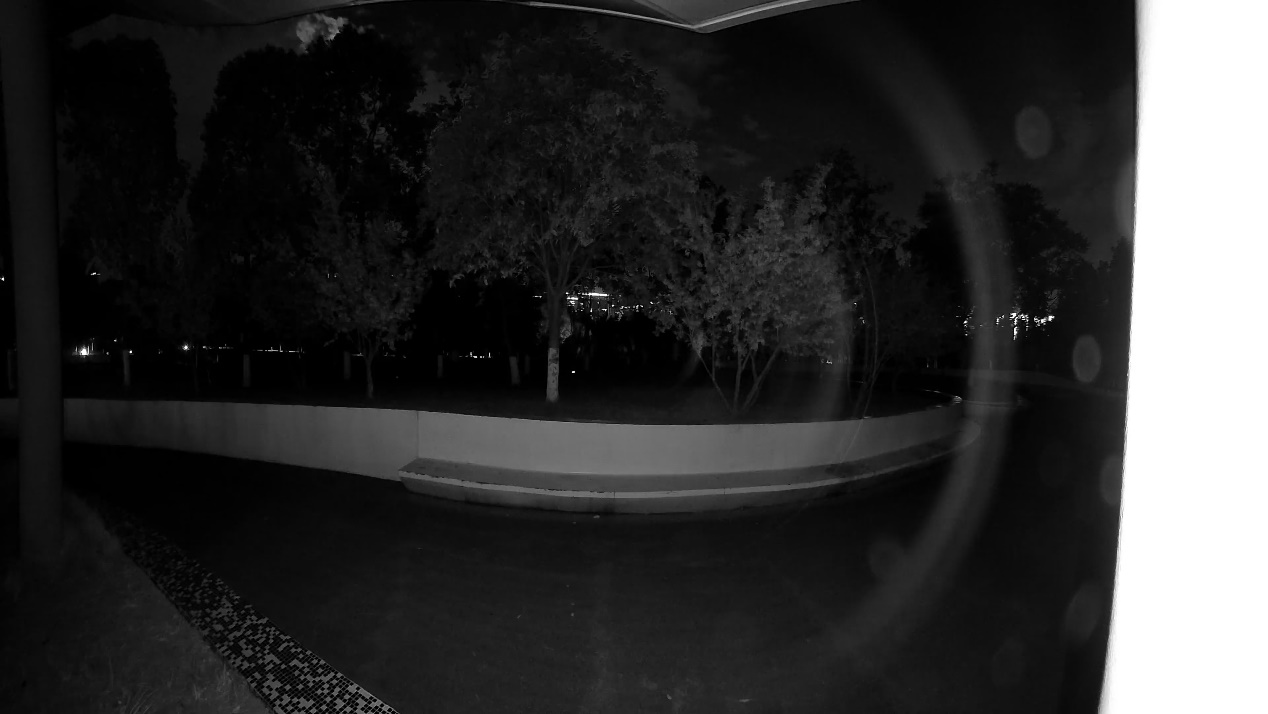
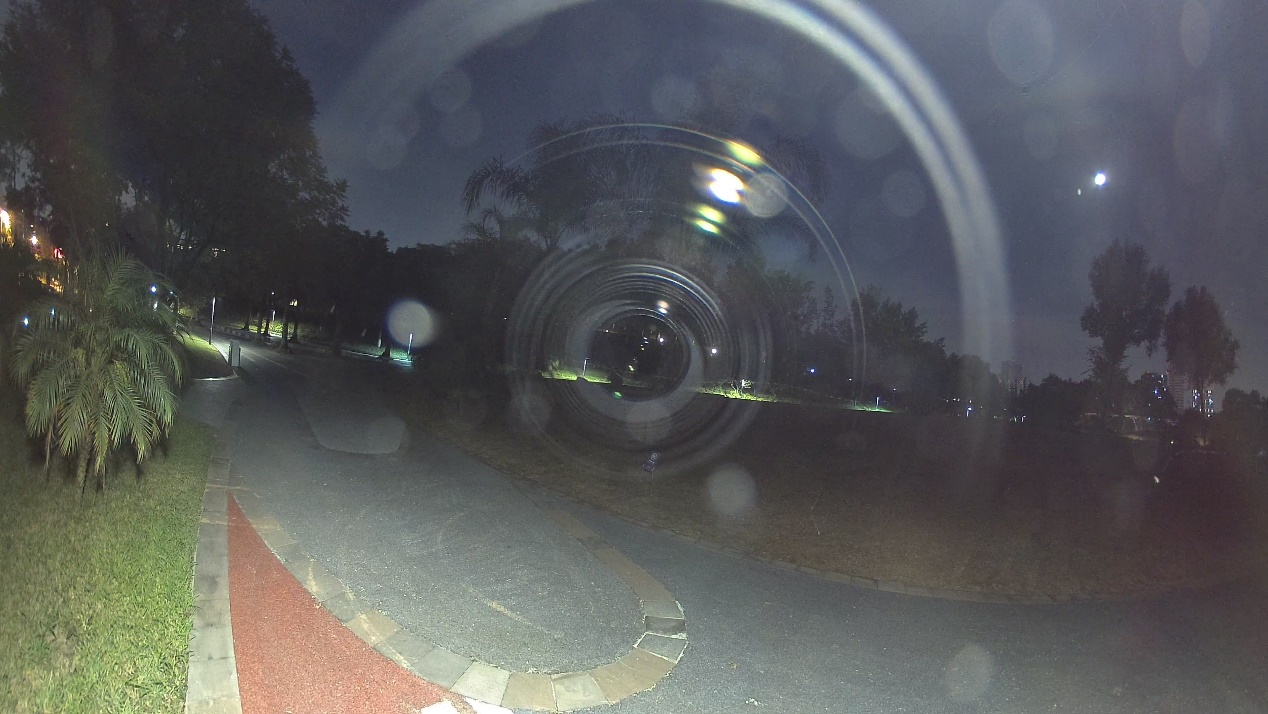
In Scenario 3, when installing the camera on a pole, it is recommended to avoid a direct light source from above. If this cannot be avoided, ensure that the light does not shine directly into the lens.
3. Improper Installation Cases
During installation, if any of the following situations occur, please adjust accordingly.
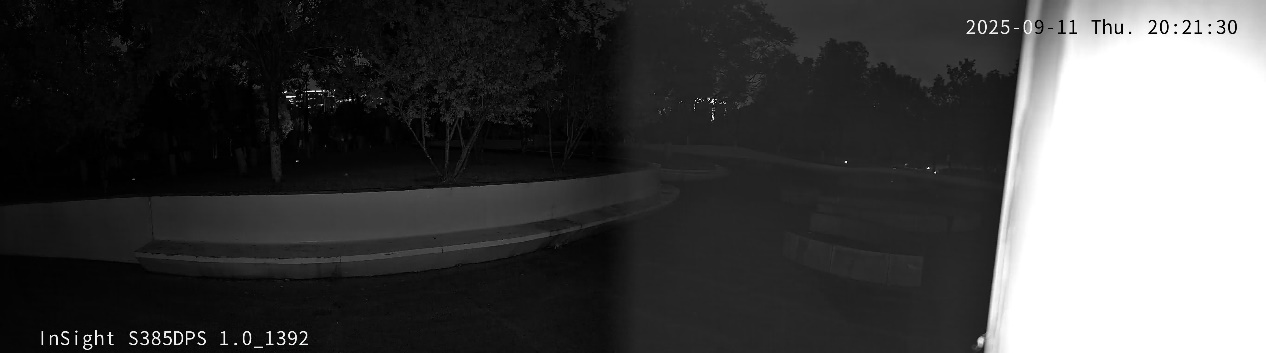
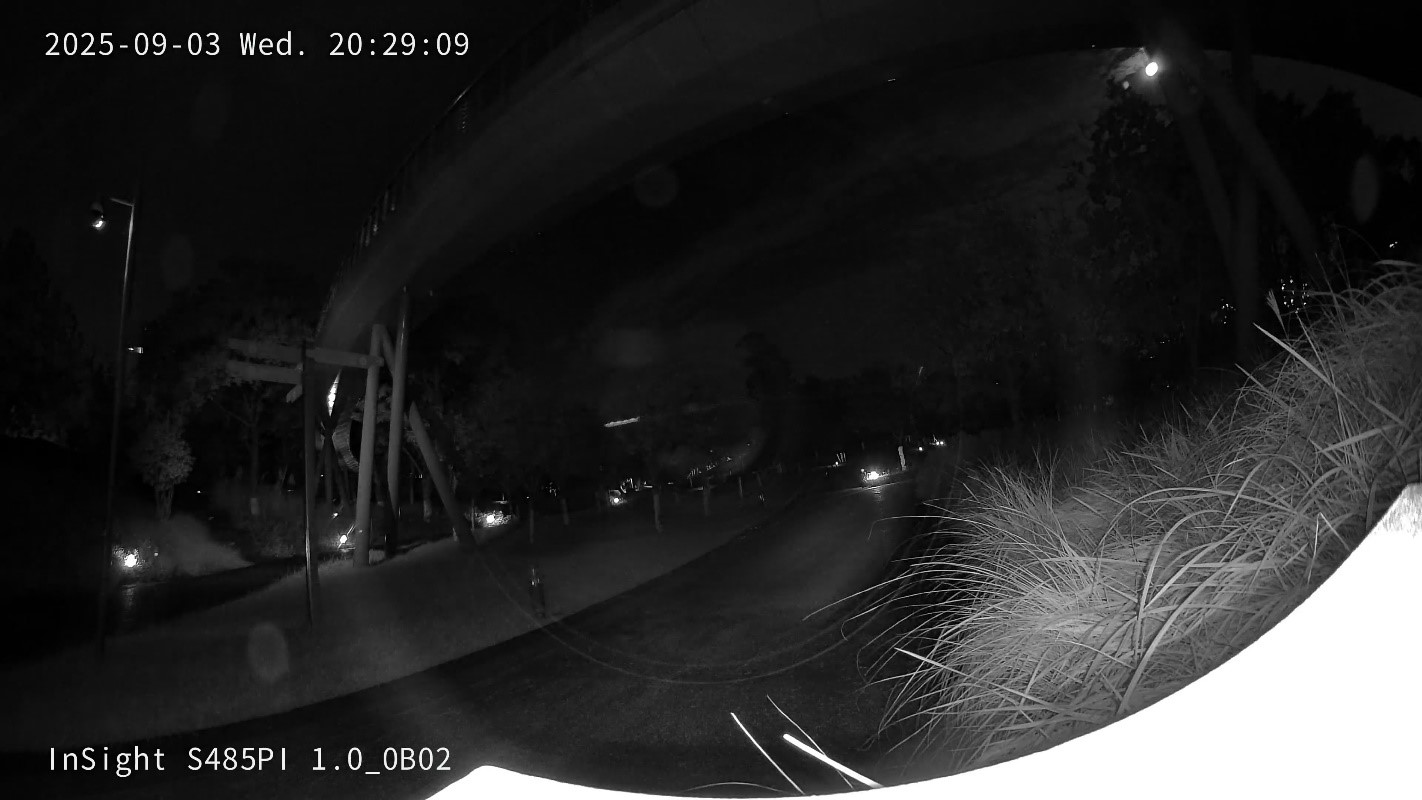
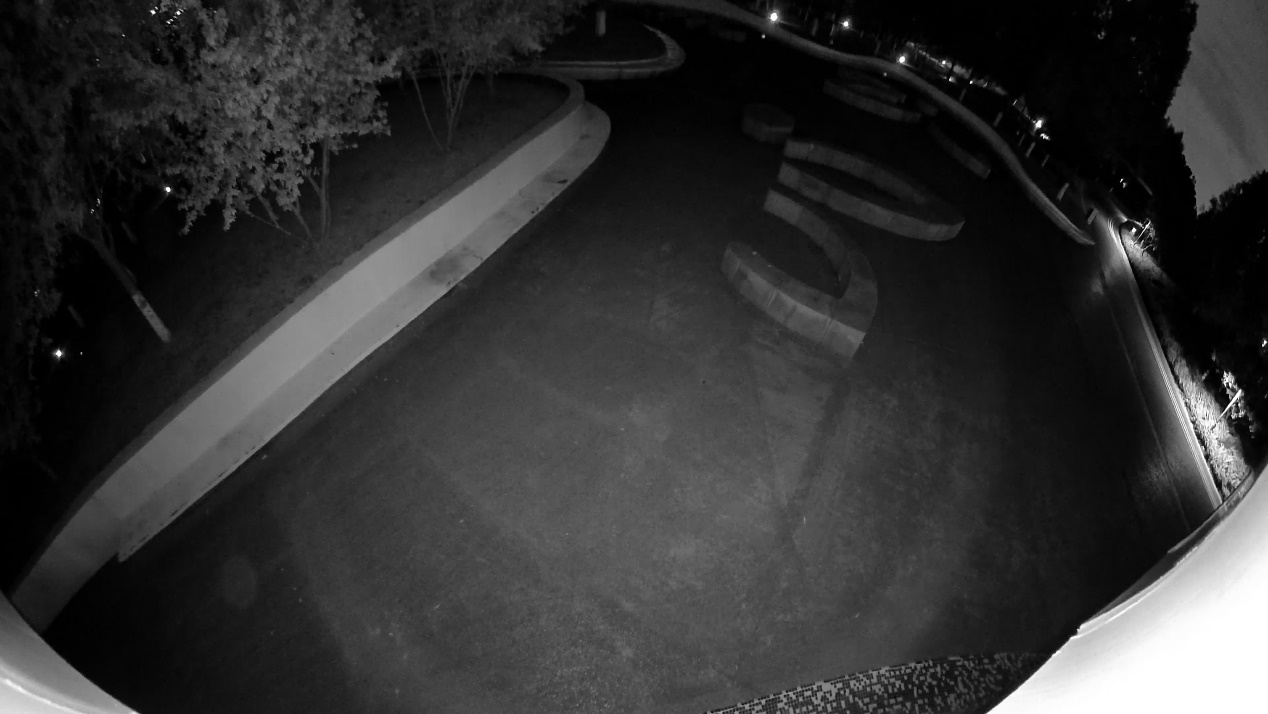
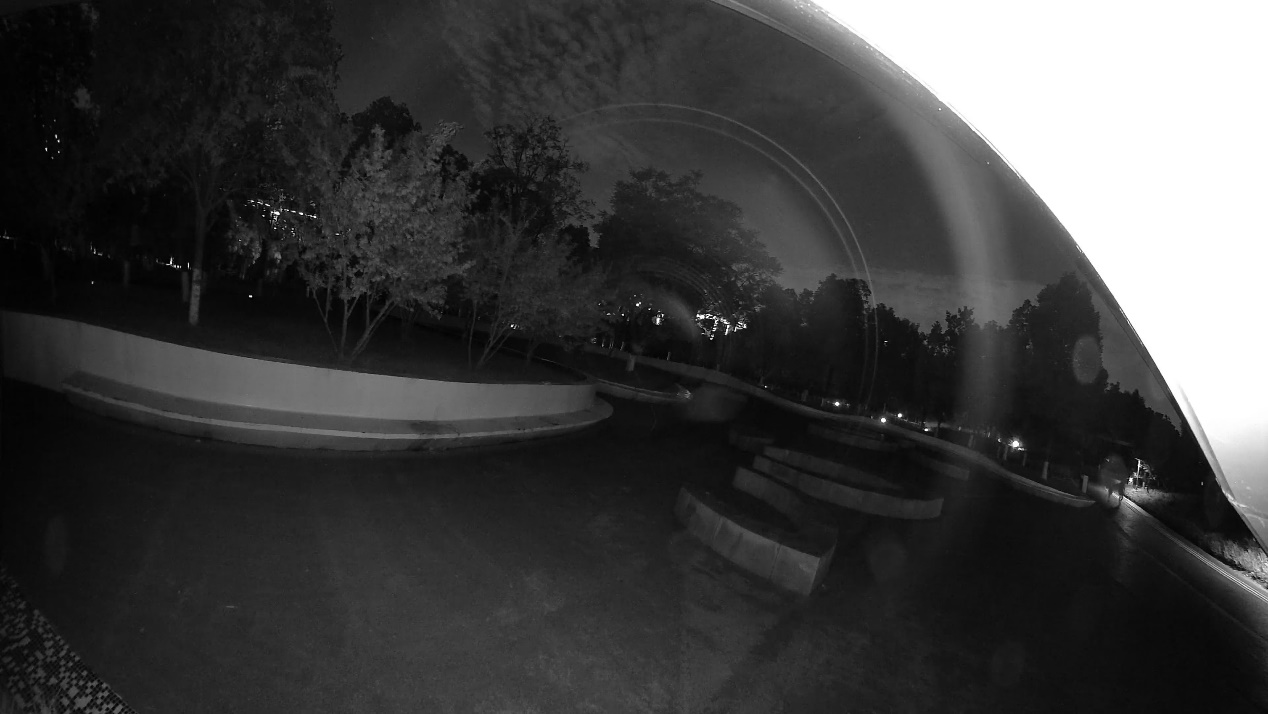
- Excessive glare appears in the video feed.
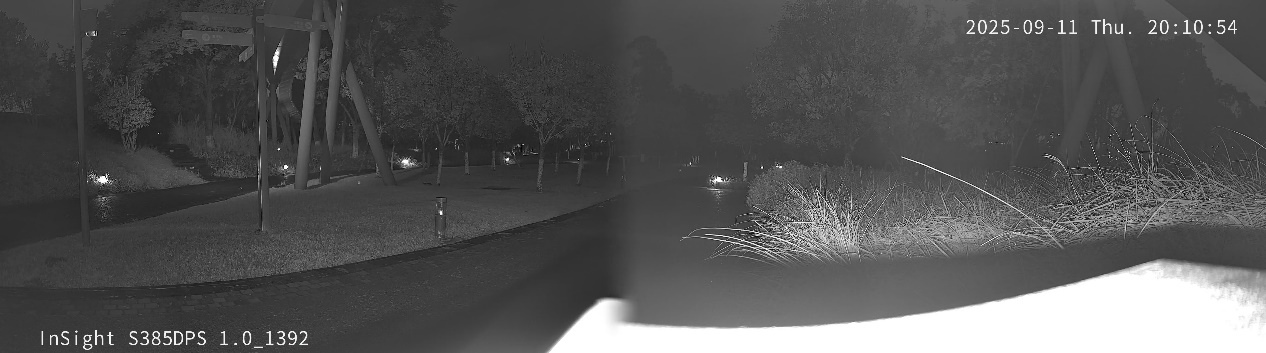
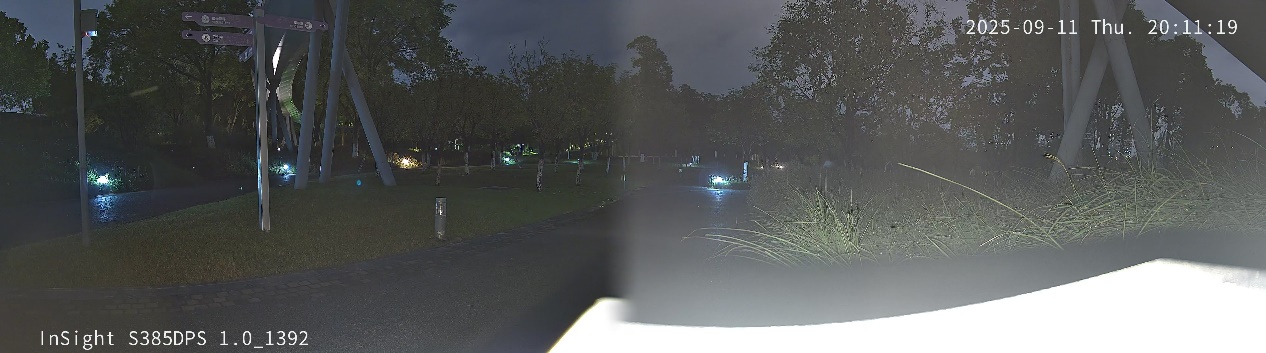
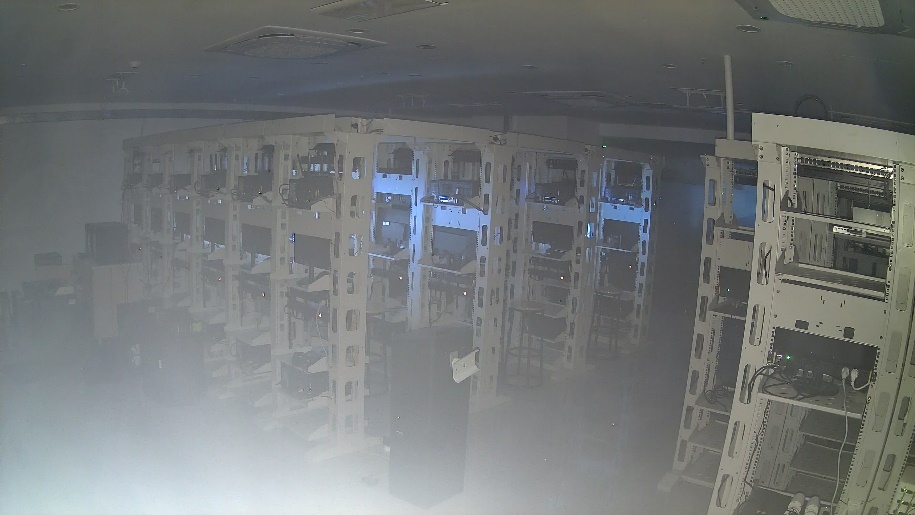
If unwanted- bright spots or glare appear in the video feed, this may be caused by placing the camera on a highly reflective surface. Or there is a strong light source near the camera, and the reflection will cause a clear boundary between the left and right lens at InSight S385DPS.
Solutions:
(1) Mount the camera on the wall or on the ceiling instead.
(2) Apply black, light-absorbing wallpaper to the surface where the camera is placed to reduce reflection.
(3) If there are strong light sources nearby, relocate either the camera or the light source to prevent direct light from entering the lens.
- Due to an overly low tilt angle with a wall, the supplementary light may shine onto the wall and bounce back into the lens. This may darken the video feed.
Solutions:
(1) Adjust the tilt angle so that reflective walls do not appear in frame.
(2) Avoid installing the camera near highly reflective wall surfaces. If this cannot be avoided, apply black, light-absorbing wallpaper to the wall to reduce reflections.
- The camera is installed too close to the eave, and the tilt angle is too high. The camera may capture the eave in frame, causing reflections.
Solutions:
(1) Move the camera farther from the eave and adjust the tilt angle so that the eave does not appear in frame.
(2) Ceiling-mount the camera under the eave and near the outer edge, and adjust the tilt angle to minimize reflections.
(3) Avoid installing the camera under eaves with highly reflective surfaces. Black, light-absorbing wallpaper can be applied to reduce reflections.
- There is a wall on either side of the installed camera, or nearby obstructions, causing infrared light to reflect off the surface, bounce into the lens, and produce glare.
Solutions:
(1) Move the camera farther from the side wall or away from obstructions and adjust the angle so that the wall or objects do not appear in frame.
(2) Install the camera in a central position away from the side wall and adjust the angle.
(3) Avoid installing the camera near highly reflective side walls. If this cannot be avoided, apply black, light-absorbing wallpaper to the wall to reduce reflections.
- A nearby light source shines diagonally into the lens, causing strong glare and a clear boundary between the left and right lens.
Solutions:
(1) Adjust the relative positions of the light source and the camera until the camera’s housing can fully block the incoming light.
(2) Change the installation location to avoid direct light sources from above.
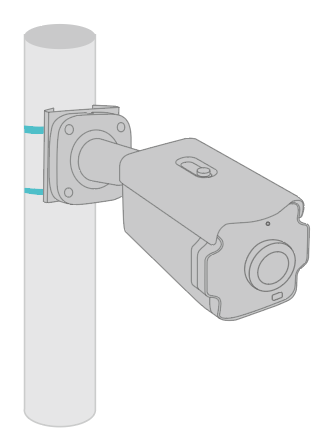
Installation guide for InSight S385PI and InSight S485PI
1. Recommended Installation Method
The cameras in this series provide a horizontal viewing angle of up to 180°. To ensure optimal monitoring performance, pay close attention to the following details and environmental requirements during installation:
- Before installation, make sure the mounting surface is clean, flat, and capable of supporting the camera’s weight. It is generally recommended to install the camera at a higher position or in an open area to maximize coverage and minimize obstructions. The surrounding area should be free of obstacles and reflective surfaces for optimal results. Once the camera is fixed in place, adjust its angle to optimize the coverage area and field of view, ensuring that no objects or reflective surfaces appear within the frame.
- Avoid positioning the camera where strong or excessive light sources appear in frame, as this may cause glare.
2. Installation Recommendations for Special Scenarios
It is recommended to mount the cameras on a ceiling or a wall. In addition, model 385PI can be mounted on a pole.
Scenario 1:
Scenario 2:
Scenario 3:
Scenario 4:
Scenario 5:
In Scenario 1, when installing the camera on a ceiling under an eave, it is recommended to place it toward the outer edge of the eave. Adjust the tilt angle to avoid capturing the roof or the wall below, which may cause reflections.
In Scenario 2, when installing the camera on a wall under an eave, avoid placing the bracket too close to the eave. Install the camera slightly away from the eave and adjust the tilt angle to prevent the roof or the wall below from appearing in frame and causing glare.
In Scenario 3, when installing the camera in an area with a wall on either side, mount the camera centrally and away from the wall. As a wide-angle model, avoid corner installs; reflected light can enter the dome and cause glare.
Avoid the installation method shown in Scenario 4 and instead use the recommended wall-mount or ceiling-mount options. A flat surface supporting the camera may reflect infrared light and result in glare.
In Scenario 5, when installing the camera on a pole, it is recommended to avoid a direct light source from above. If this cannot be avoided, ensure that the light does not shine directly into the dome.
3. Improper Installation Cases
During installation, if any of the following situations occur, please adjust accordingly.
- Excessive glare appears in the video feed
If unwanted bright spots or glare appear in the video feed, this may be caused by placing the camera on a highly reflective surface or having strong light sources nearby.
Solutions:
(1) Mount the camera on the wall or on the ceiling instead.
(2) Apply black, light-absorbing wallpaper to the surface where the camera is placed to reduce reflection.
(3) If there are strong light sources nearby, relocate either the camera or the light source to prevent direct light from entering the dome.
- Due to an overly low tilt angle with a wall, the supplementary light may shine onto the wall and bounce back into the lens. This may darken the video feed.
Solutions:
(1) Adjust the tilt angle so that reflective walls do not appear in frame.
(2) Avoid installing the camera near highly reflective wall surfaces. If this cannot be avoided, apply black, light-absorbing wallpaper to the wall to reduce reflections.
- The camera is installed too close to the eave, and the tilt angle is too high. The camera may capture the eave in frame, causing reflections.
Solutions:
(1) Move the camera farther from the eave and adjust the tilt angle so that the eave does not appear in the frame.
(2) Ceiling-mount the camera under the eave and near the outer edge and adjust the tilt angle to minimize reflections.
(3) Avoid installing the camera under eaves with highly reflective surfaces. Black, light-absorbing wallpaper can be applied to reduce reflections.
- There is a wall on either side of the installed camera, or nearby obstructions, causing infrared light to reflect off the surface, bounce into the lens, and produce glare.
Solutions:
(1) Move the camera farther from the side wall or away from obstructions and adjust the angle so that the wall or objects do not appear in frame.
(2) Install the camera in a central position away from the side wall and adjust the angle.
(3) Avoid installing the camera near highly reflective side walls. If this cannot be avoided, apply black, light-absorbing wallpaper to the wall to reduce reflections.
- A nearby light source shines diagonally into the dome, causing strong glare and light spots across the entire screen.
Solutions:
(1) Adjust the relative positions of the light source and the camera until the camera’s housing can fully block the incoming light.
(2) Change the installation location to avoid direct light sources from above.
Installation guide for Dome Cameras
This guide provides installation precautions for Dome series camera models equipped with a specialized explosion-proof dome. During installation, please pay attention to the following details and environmental requirements:
- When installing the camera, first ensure that the surface where it will be mounted is clean, level, and capable of supporting the weight of the device. It is generally recommended to install the unit at a height or in an open space to ensure a clear, unobstructed view. To achieve the best recording quality, make sure there are no obstructions or reflective surfaces nearby. Once the camera is positioned, adjust the angle to optimize the lens coverage and field of view. This will help ensure maximum coverage of the surveillance area without obstructions or reflections in the image.
- Avoid pointing cameras at bright or excessive light sources, as this can cause glare.
Installation and maintenance guidelines:
- The dome comes with a protective film. It’s recommended to leave the film on during installation and only remove it once installation is complete. After removing the film, avoid touching the dome with your hands. If further adjustments are needed, use clean gloves to handle the dome. This prevents smudges, scratches, or fingerprints, which can degrade image quality.
- The camera may contain a desiccant inside to keep the internal components dry. Avoid leaving the camera interior exposed after removing the dome. Reinstall the dome promptly, ideally within one hour.
- When adjusting the camera angle, do so only by rotating the unit. Do not disassemble any parts other than the dome. Avoid touching the internal components or circuit boards directly with your hands and never touch the lens surface.
- If night vision (white light/infrared) footage appears foggy or washed out, check for dirt on the lens or the area of the dome directly in front of the lens. Also, ensure that the lens’s light-blocking foam isn’t unusually compressed. If dirt is present, follow the cleaning steps below. If it’s a foam issue, remove and reinstall the dome.
- To remove dust from the lens or dome, use a rubber air blower or a clean, oil-free brush. For fingerprints or grease on the lens, gently wipe with a clean lens cloth. Then, use a lens cloth with a small amount of cleaning solution to gently clean the lens in a circular motion, starting from the center.
- If the dome itself has grease or stains, gently wipe it with a clean lens cloth, starting from the center and moving outward. If the stains persist, dampen the cloth with a cleaning solution and wipe it again.
- Use a cleaning solution such as pure ethanol or a common eyeglass cleaner. Ensure no residue remains after cleaning.
- Before installation, it’s recommended to perform a simple anti-static procedure, such as touching a grounded metal surface to discharge any static.
- After installation, double-check that all screws are securely tightened to prevent any loose connections.
If the following situations occur during installation, adjustments can be made according to the suggestions below:
1. Light from a nearby source is shining at an angle into the camera’s dome, causing strong glare and significant light spots across the screen.

Solutions:
(1) Adjust the position of the light source and the camera until the camera fully blocks the incoming light.
(2) Alternatively, adjust the installation location to avoid having a light source above the camera.
2. The dome is dirty and, in night vision mode (white light or infrared), certain areas of the image appear white or hazy.
Solutions:
(1) Check if the protective film on the dome has been removed and ensure that the front cover screws of the camera are tightly secured.
(2) Inspect the dome for dirt or smudges. If dirt is present, use a clean lens cloth as described in the maintenance section to clean the dome.
Conclusion
By following the above suggestions, you can better install the camera and avoid issues with image glare and blurriness.
Get to know more details of each function and configuration, please go to Download Center to download the manual of your product.
Is this faq useful?
Your feedback helps improve this site.

TP-Link Community
Still need help? Search for answers, ask questions, and get help from TP-Link experts and other users around the world.