How to configure the PTZ limit of VIGI cameras using the web UI
Contents
Introduction
PTZ limit refers to the boundaries set on a PTZ camera's pan, tilt, and zoom movements to prevent over-rotation or excessive zoom. When cameras are installed in privacy areas or near walls, the PTZ movement range can be specified to ensure privacy or prevent tracking from moving into blind spots, thereby maintaining the continuity of security coverage.
Requirements
- PTZ Camera
- PC
Configuration
Please confirm that the camera firmware has been updated to the latest version.
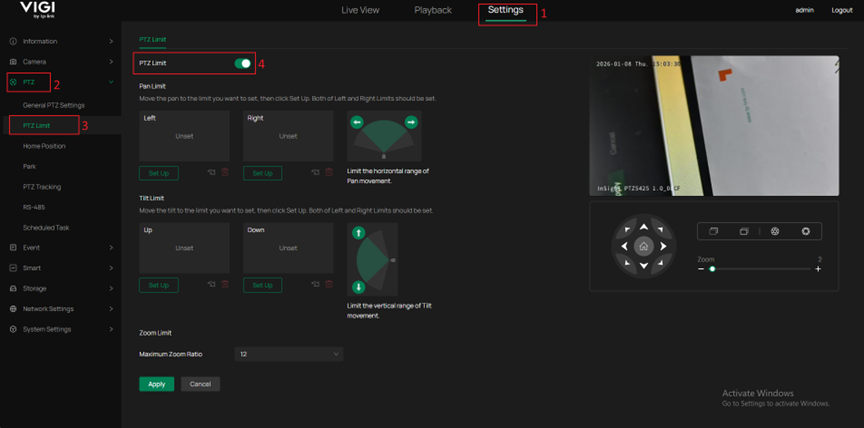
Step 1. Power on the camera and connect it to the PC via an Ethernet cable. Log into the camera web UI using the IP address. Go to Settings > PTZ > PTZ limit to enable this function.
Step 2. Use the directional control buttons on the right side of the page to adjust the camera to the desired position. Click the Set Up button for Pan Limit and Tilt Limit to set that position as the limit point for the corresponding direction. The set limit position can be overridden by clicking the Set Up button to reconfigure the original limit position.
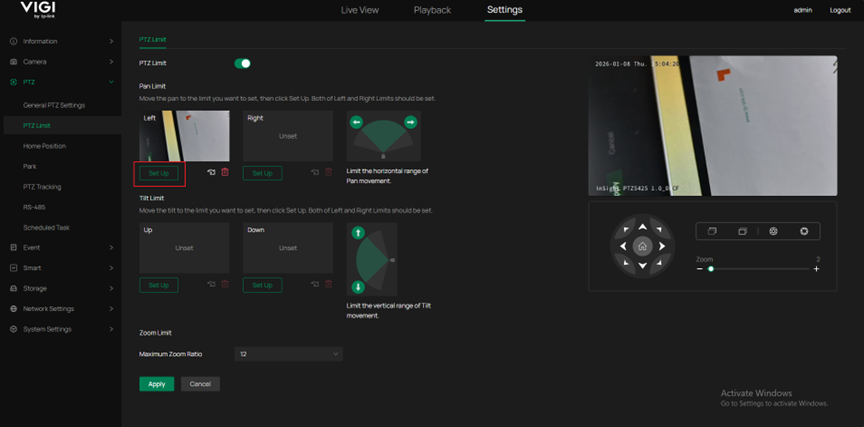
Note: When setting the left and right limits, please configure them according to the directions shown in the diagram. If you want the device to rotate nearly 360 degrees without constantly adjusting to the right, you can directly set the right limit to the left of the left limit.
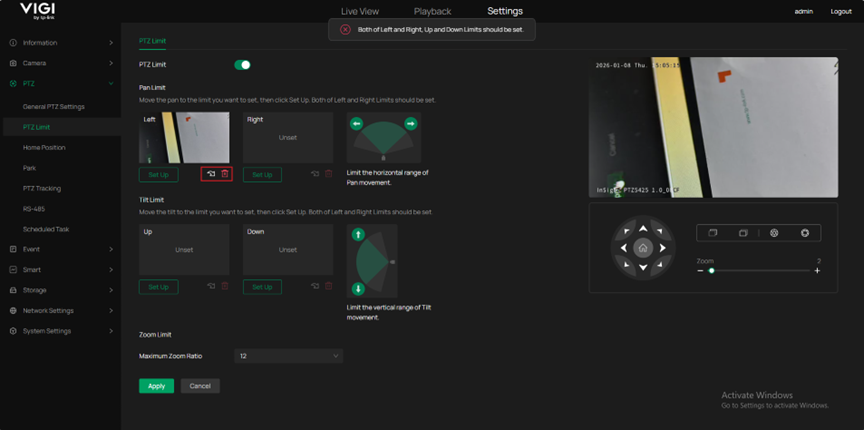
Setting Pan or Tilt limits is optional. However, once set, both the Left and Right or the Up and Down limits must be configured for the settings to be successfully saved. Otherwise, the system will display an error message.
After completing the limit setting for a specific direction, the Call and Delete buttons for that direction become available. Clicking the call button will move the display to the limit position. Clicking the delete button will remove this limit position.
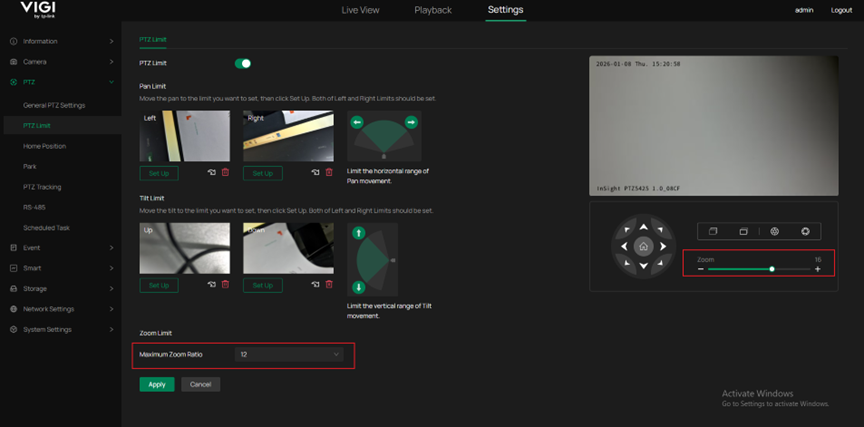
Step 3. When setting the Maximum Zoom Ratio, it can be set to No Limit. It means no restrictions are applied, and the maximum value supported by the device capability is 25. If you want to restrict it to a specific range, you can set a specific value between 1 and 24.
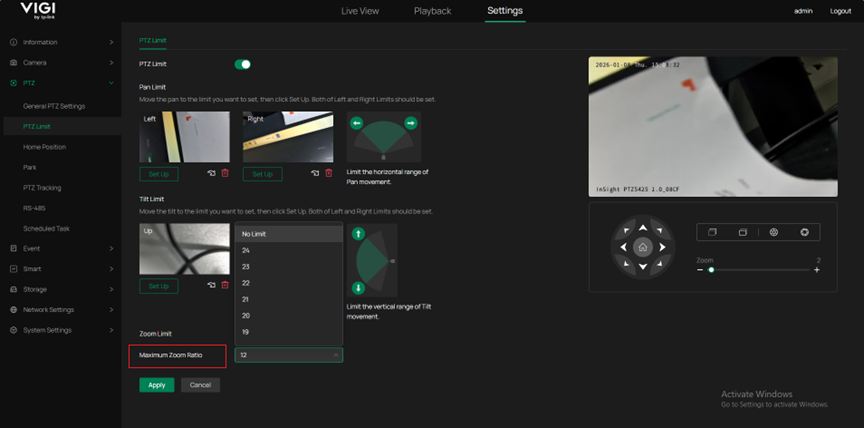
Note: When the maximum zoom ratio is set, digital zoom will automatically turn off.
The manually set Zoom value cannot exceed the configured Maximum Zoom Ratio.
If the Zoom value exceeds the Maximum Zoom Ratio, the Maximum Zoom Ratio will take precedence, and the manually entered value will not take effect.
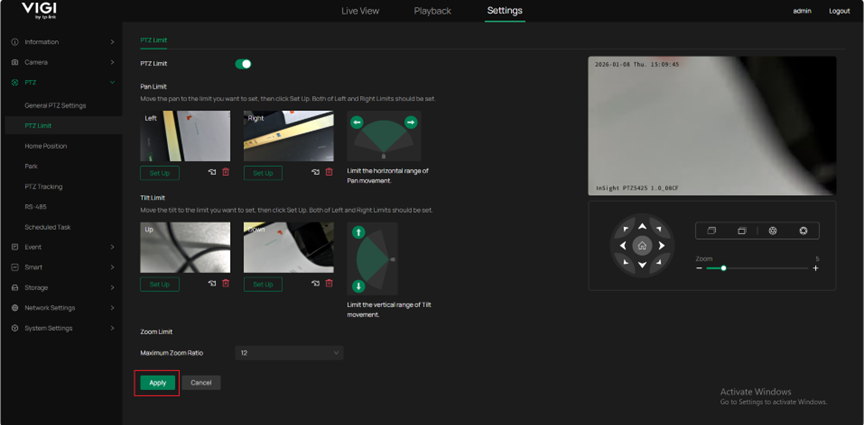
After completing all configurations, click the Apply button to apply your settings. You will see a success report. Once the settings are successfully configured, they will be applied to all PTZ configurations, including preset, patrol scan, etc. It will only rotate to the limit boundaries.
Conclusion
Now, you can configure the PTZ limits of the camera as needed.
Get to know more details of each function and configuration please go to Download Center to download the manual of your product.
Is this faq useful?
Your feedback helps improve this site.
TP-Link Community
Still need help? Search for answers, ask questions, and get help from TP-Link experts and other users around the world.