How to set up the Tapo Smart Plug
Introduction
Tapo smart plug is a compact home device that turns your typical electrical wall outlet into a controllable, customizable, and multi-functional outlet, enabling you to easily control your lights and household electronics via the Tapo app, no matter where you are. Follow the steps below to set up your Tapo smart plug using the Tapo app.
Requirements
- Go to Google Play or the Apple App Store or scan the QR code below to download the Tapo app.

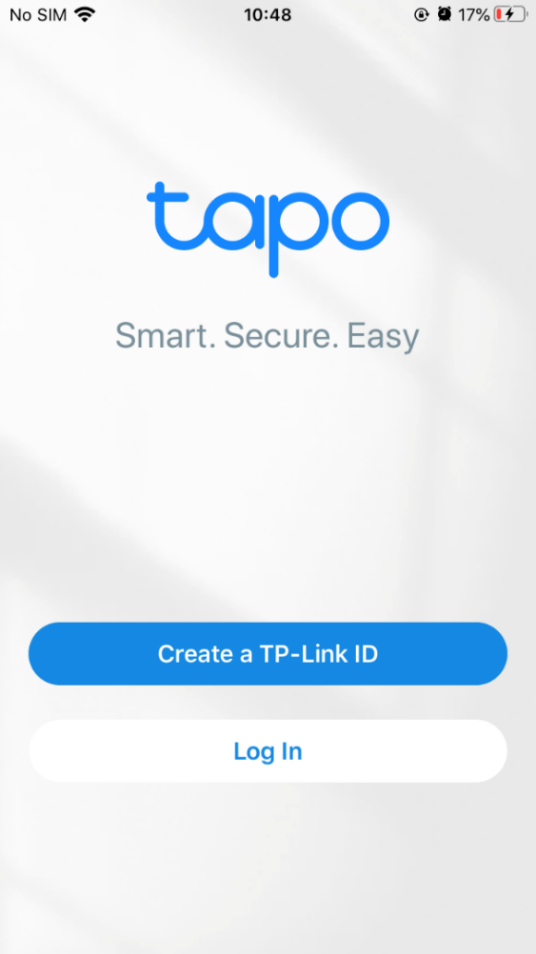
- Open the app and use your TP-Link ID to log in. If you don’t have a TP-Link ID, tap Create a TP-Link ID to create one, and the app will guide you through the rest.

Configuration
Step 1. Tap the + button in the Tapo app and select Plugs under the Tapo brand. Then select your model. Here, we take the Tapo P110 (Wi-Fi version) as an example.

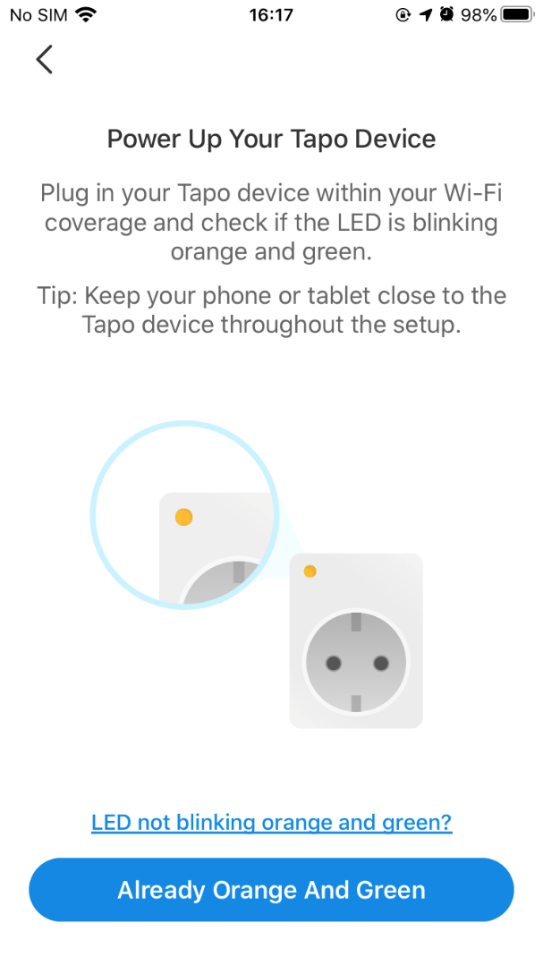
Step 2. Plug your Tapo plug into a power outlet and wait until the LED is blinking orange and green. Then tap the “Already Orange And Green” button. Keep your phone or tablet close to your Tapo plug throughout the setup.
Note: If the LED does not blink orange and green, tap “LED not blinking orange and green?” for help or reset the plug as per its user guide in the Tapo app.
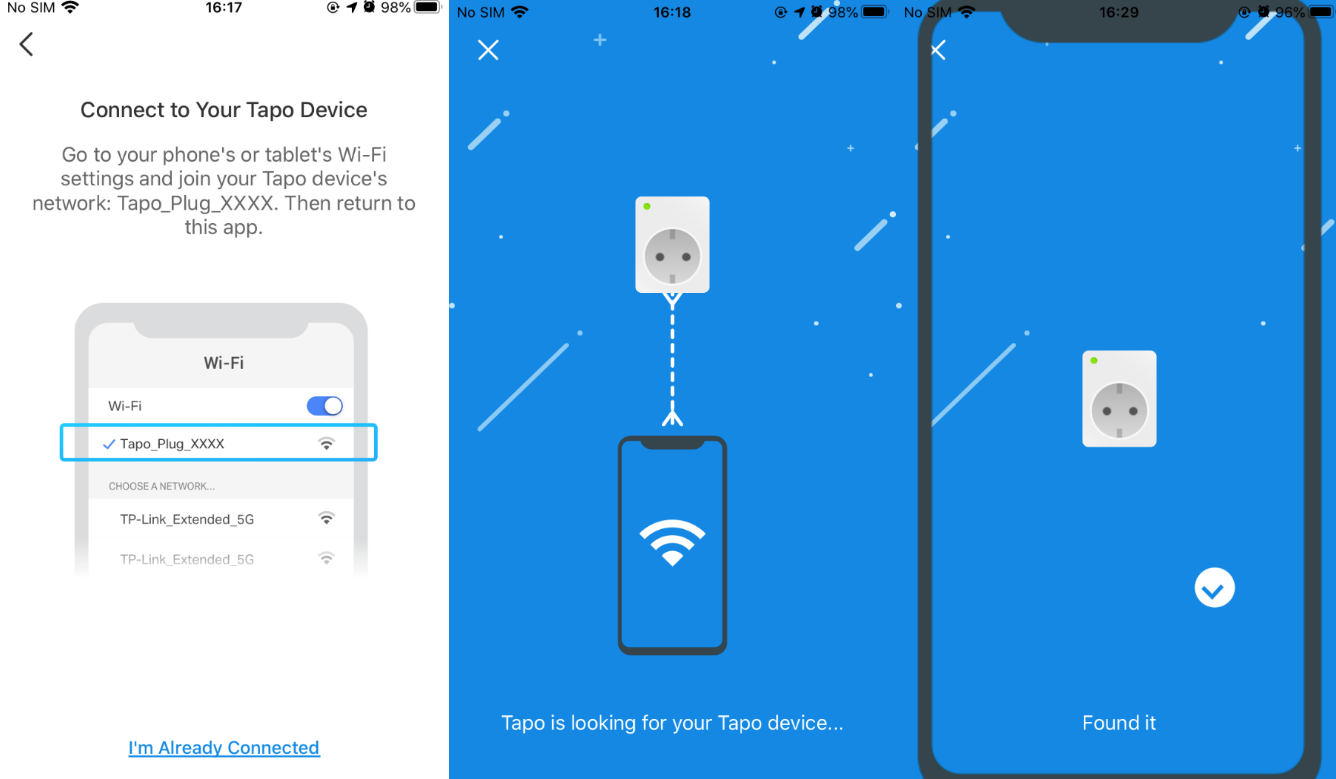
Step 3. Connect to your plug’s Wi-Fi. Tapo will search for your device.
Note: Please check if your Tapo plug broadcasts a default Wi-Fi signal (e.g., Tapo_Plug_XXXX). If you cannot find the default Wi-Fi, your device might be using Bluetooth for setup. Please configure your plug via Bluetooth.
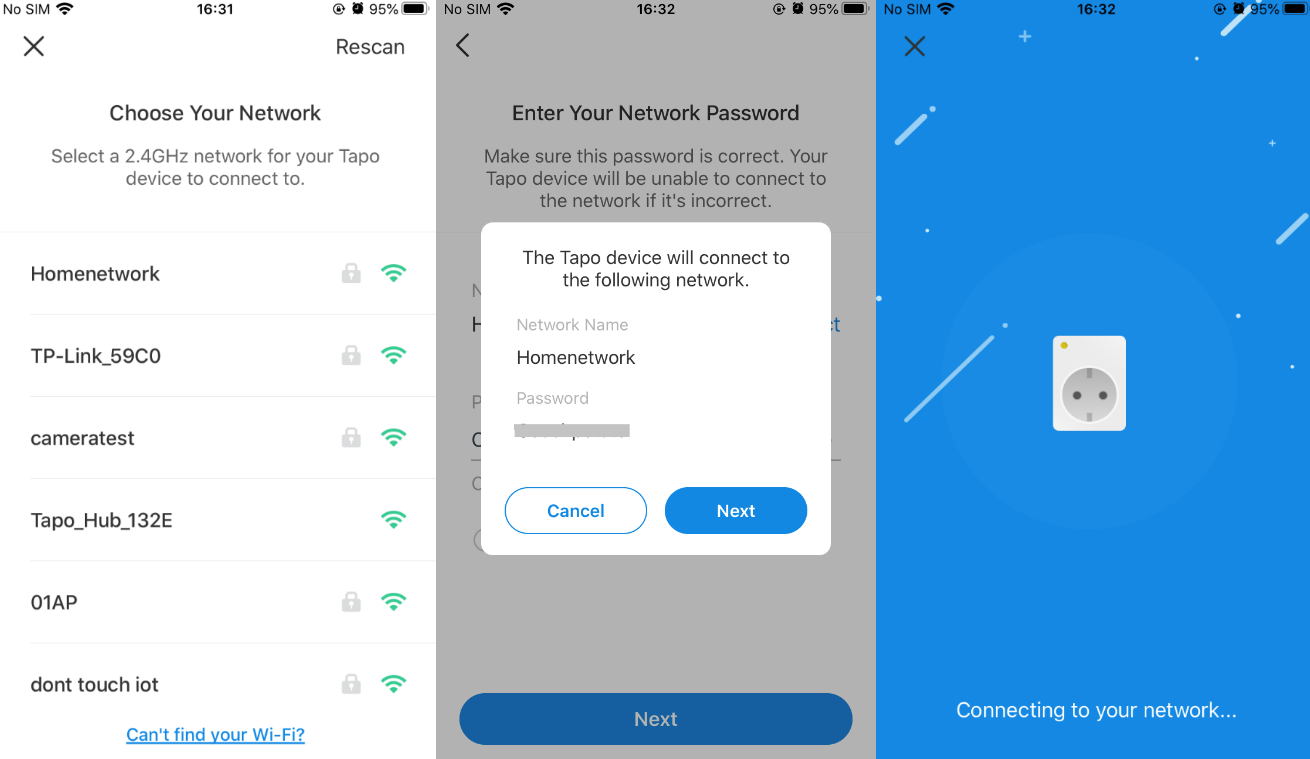
Step 4. Choose your network and enter its password. Then tap “Next” to add your Tapo plug to your home network.
Step 5. Give your Tapo plug a name, set the location, and customize its icon for you to identify it easily.

Step 6. After setting it up, you can check for the latest firmware to ensure optimal performance.
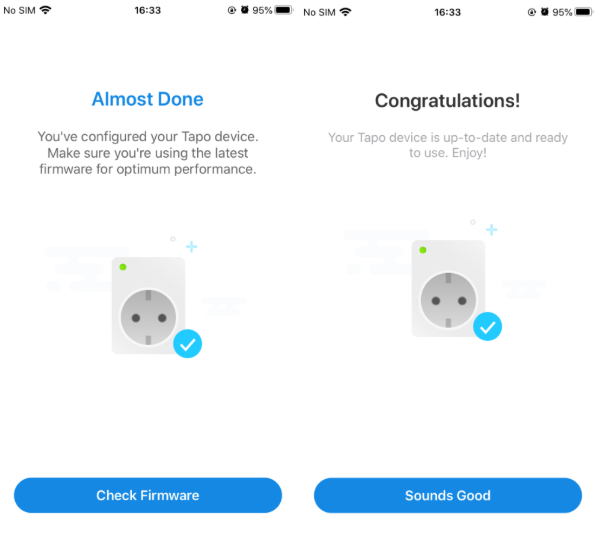
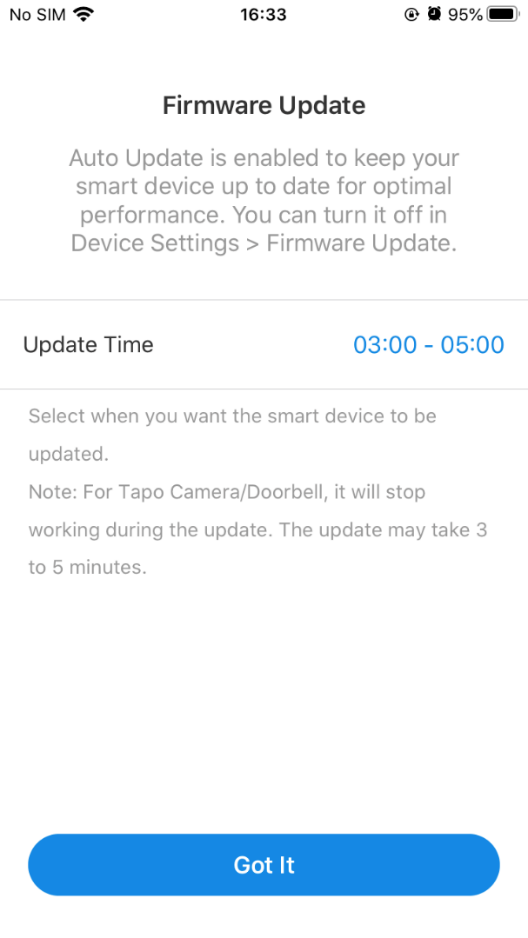
Step 7. Set the Auto Update time to enable automatic firmware updates.
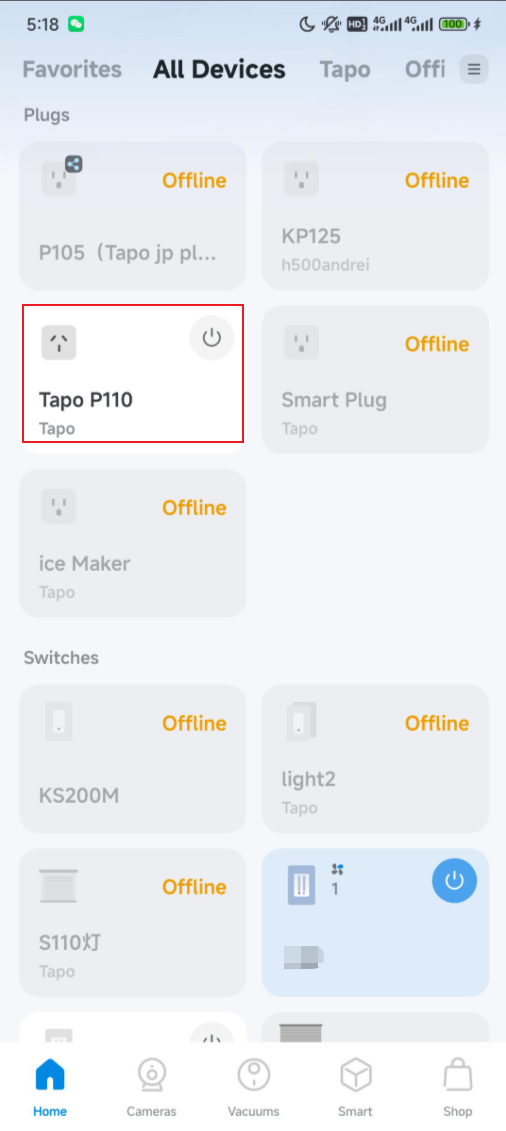
Step 8. Done! Now you can manage your Tapo plug anytime, anywhere via the app.
¿Es útil esta pregunta frecuente?
Sus comentarios nos ayudan a mejorar este sitio.


