How to Link Tapo with Kasa: Two Ways to Add Kasa Devices to the Tapo App
Tapo and Kasa work together, and the Tapo app lets you control both product lines from a single place. With Tapo app version 3.0 or later installed, you can add Kasa devices to the Tapo app using one of two methods: linking your Kasa account to Tapo, or adding Kasa devices directly through the Tapo app. Note that KE100 and KE110 are currently not compatible with Tapo.
Key Takeaways
- Kasa devices work with the Tapo app. Selected Kasa devices can be linked to or added directly to the Tapo app, so both product lines can be controlled from a single app.
- Tapo app version 3.0 or later is required to add or link Kasa devices.
- There are two ways to use Kasa devices in the Tapo app: linking your Kasa account (Method 1) or adding Kasa devices directly (Method 2).
- To link accounts, go to the Tapo app > Me > Link Tapo with Kasa and tap Authorize Now. Your existing Kasa devices will then appear in the Tapo app automatically.
- KE100 and KE110 are currently not compatible with Tapo.
- If Kasa devices do not appear after linking, confirm that both accounts use the same TP-Link ID.
Method 1: Link Tapo with Kasa
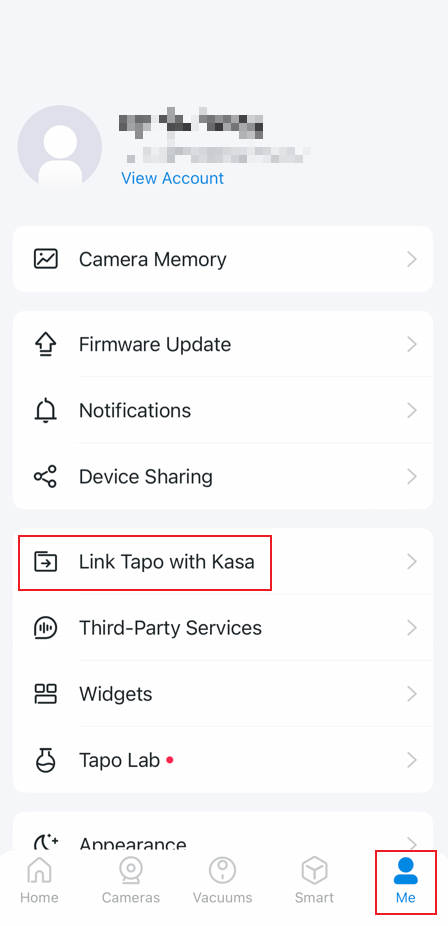
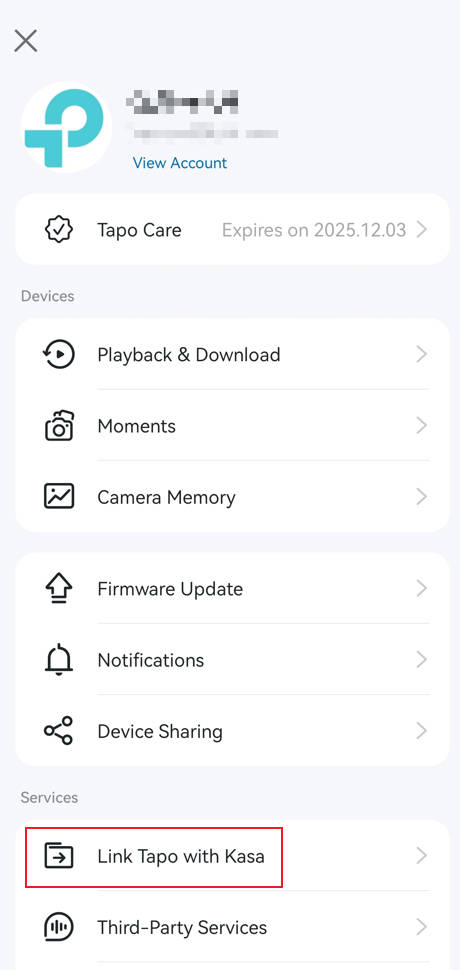
Step 1. Go to the Tapo app > Me page, tap Link Tapo with Kasa. The Me button appears in either the bottom-right or top-left corner of the app, depending on your app version.
Or
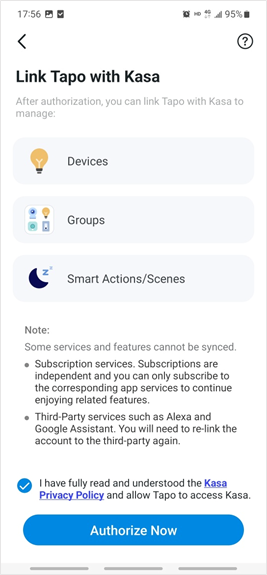
Step 2. Tick the checkbox of Privacy Policy below. Then tap Authorize Now to allow Tapo to access Kasa. After authorization, your Kasa devices will be shown in the Tapo app.
Method 2: Add Kasa Devices Directly to the Tapo App
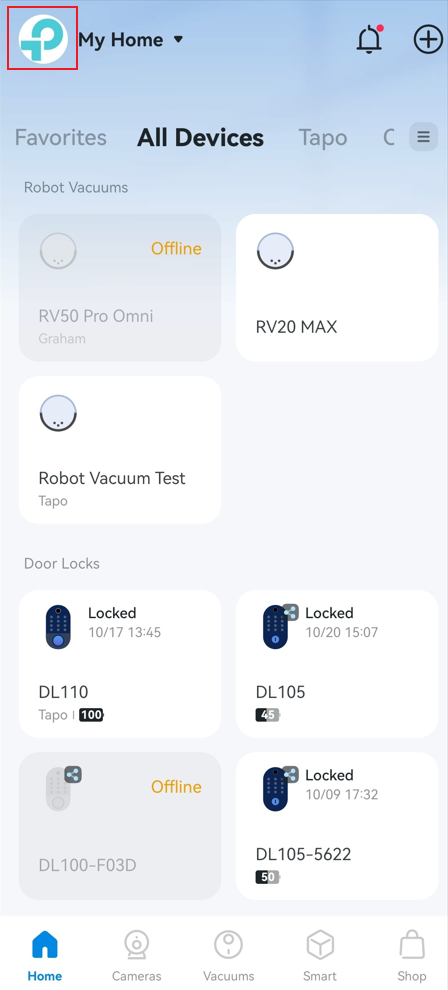
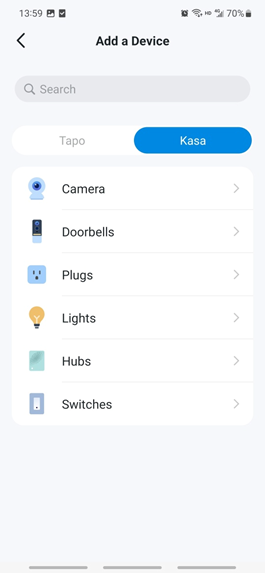
Step 1. Open the Tapo app. Tap + button in the top right corner to add the device and select the Kasa brand.
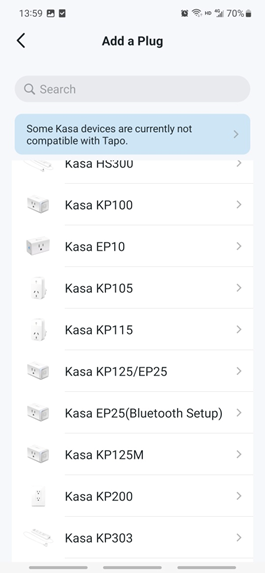
Step 2. Select the device category and then the model number. Here, we use the KP303 Smart Wi-Fi Power Strip as an example.
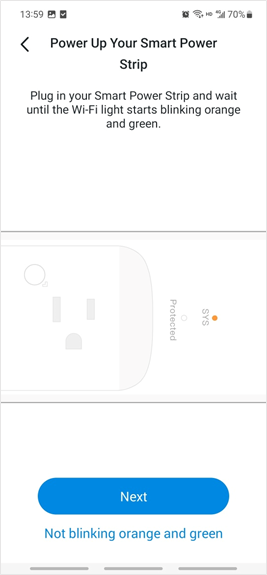
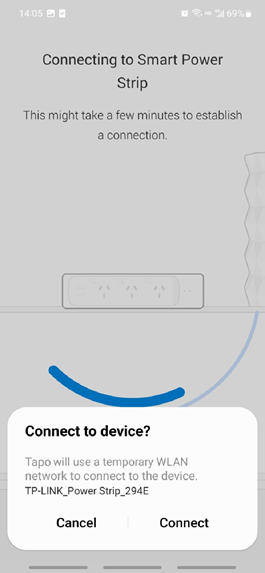
Step 3. Power up your device, then connect your phone to it.
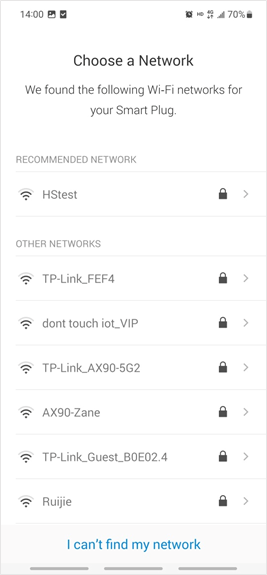
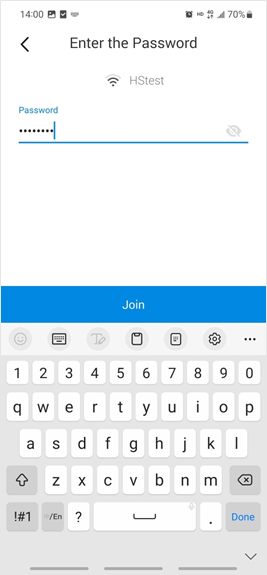
Step 4. Connect your device to your 2.4 GHz Wi-Fi network.
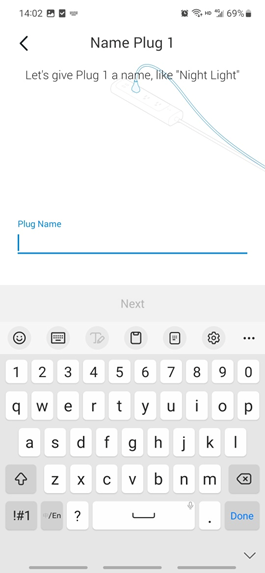
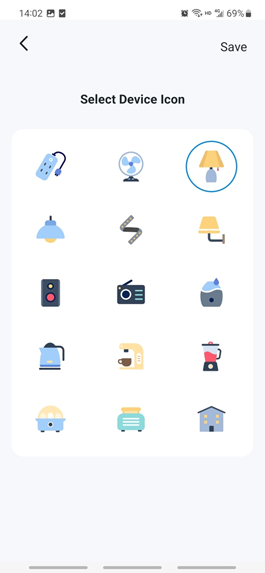
Step 5. Name each outlet of the power strip and select an icon for it.
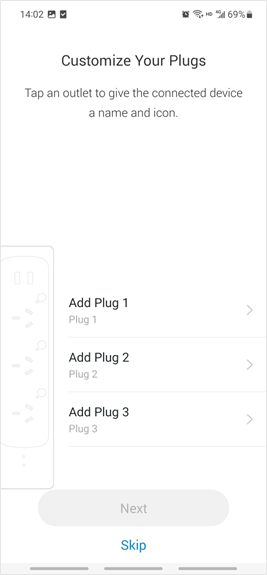
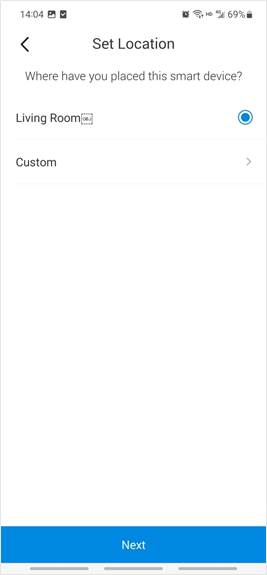
Step 6. Tap Next. Then select a location for your device.
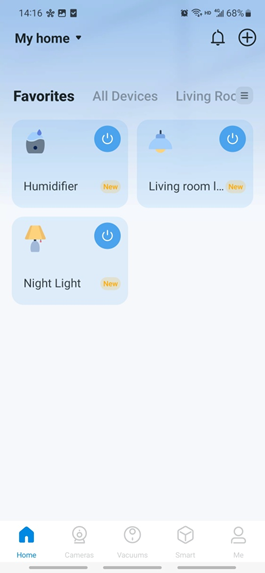
Step 7. Your Kasa device has been successfully added to the Tapo app. You can see them on the Device List.
Troubleshooting
Why can’t I find my device model when adding a new Kasa device in the Tapo app?
- Make sure both the Kasa device firmware and the Tapo app are up to date.
- Confirm that the Tapo app supports your device model. Currently, KE100 and KE110 are not supported.
- Make sure you select the Kasa brand when adding a device.
- Try searching for your Kasa device by manually entering the model number.
Why can’t I find my existing Kasa devices after linking Tapo with Kasa?
Confirm that the Kasa account is linked to the same TP-Link ID as your Tapo account. Kasa devices won't sync with the Tapo app if they're bound to a different TP-Link ID.
ค้นหาเพิ่มเติม
คำถามที่พบบ่อยนี้มีประโยชน์หรือไม่?
ความคิดเห็นของคุณช่วยปรับปรุงเว็บไซต์นี้
TP-Link Community
Still need help? Search for answers, ask questions, and get help from TP-Link experts and other users around the world.